Annapurna Circuit Trek Map: Route, Distance and Elevation Chart
September 29, 2026 Lhasso Adventure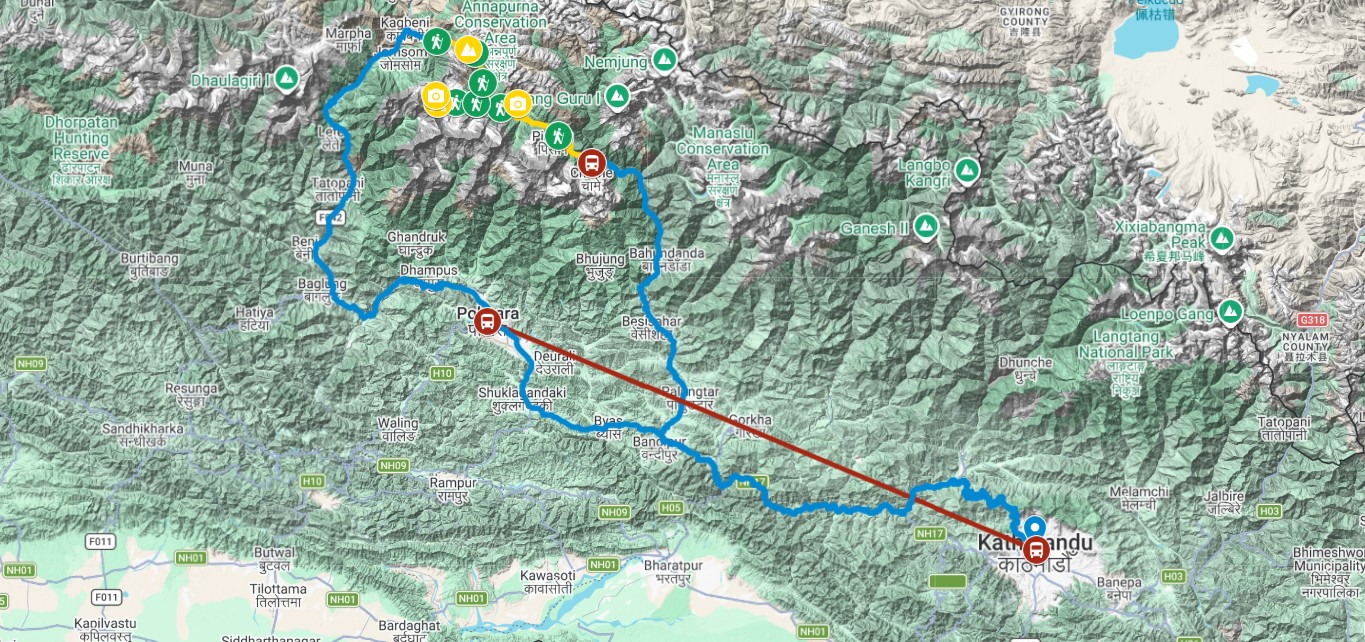
A good Annapurna Circuit trek map does more than show where the trail goes. It shows where the trail climbs, where roads now cut across it, and where a comfortable walking day suddenly turns into a demanding one.
At Lhasso Adventure, we walk this route often, so this guide reads the map the way our guides do. You will find real elevations, honest distances, offline navigation advice, and the practical details that a flat line on paper never quite explains.
What Does the Annapurna Circuit Trekking Map Look Like?
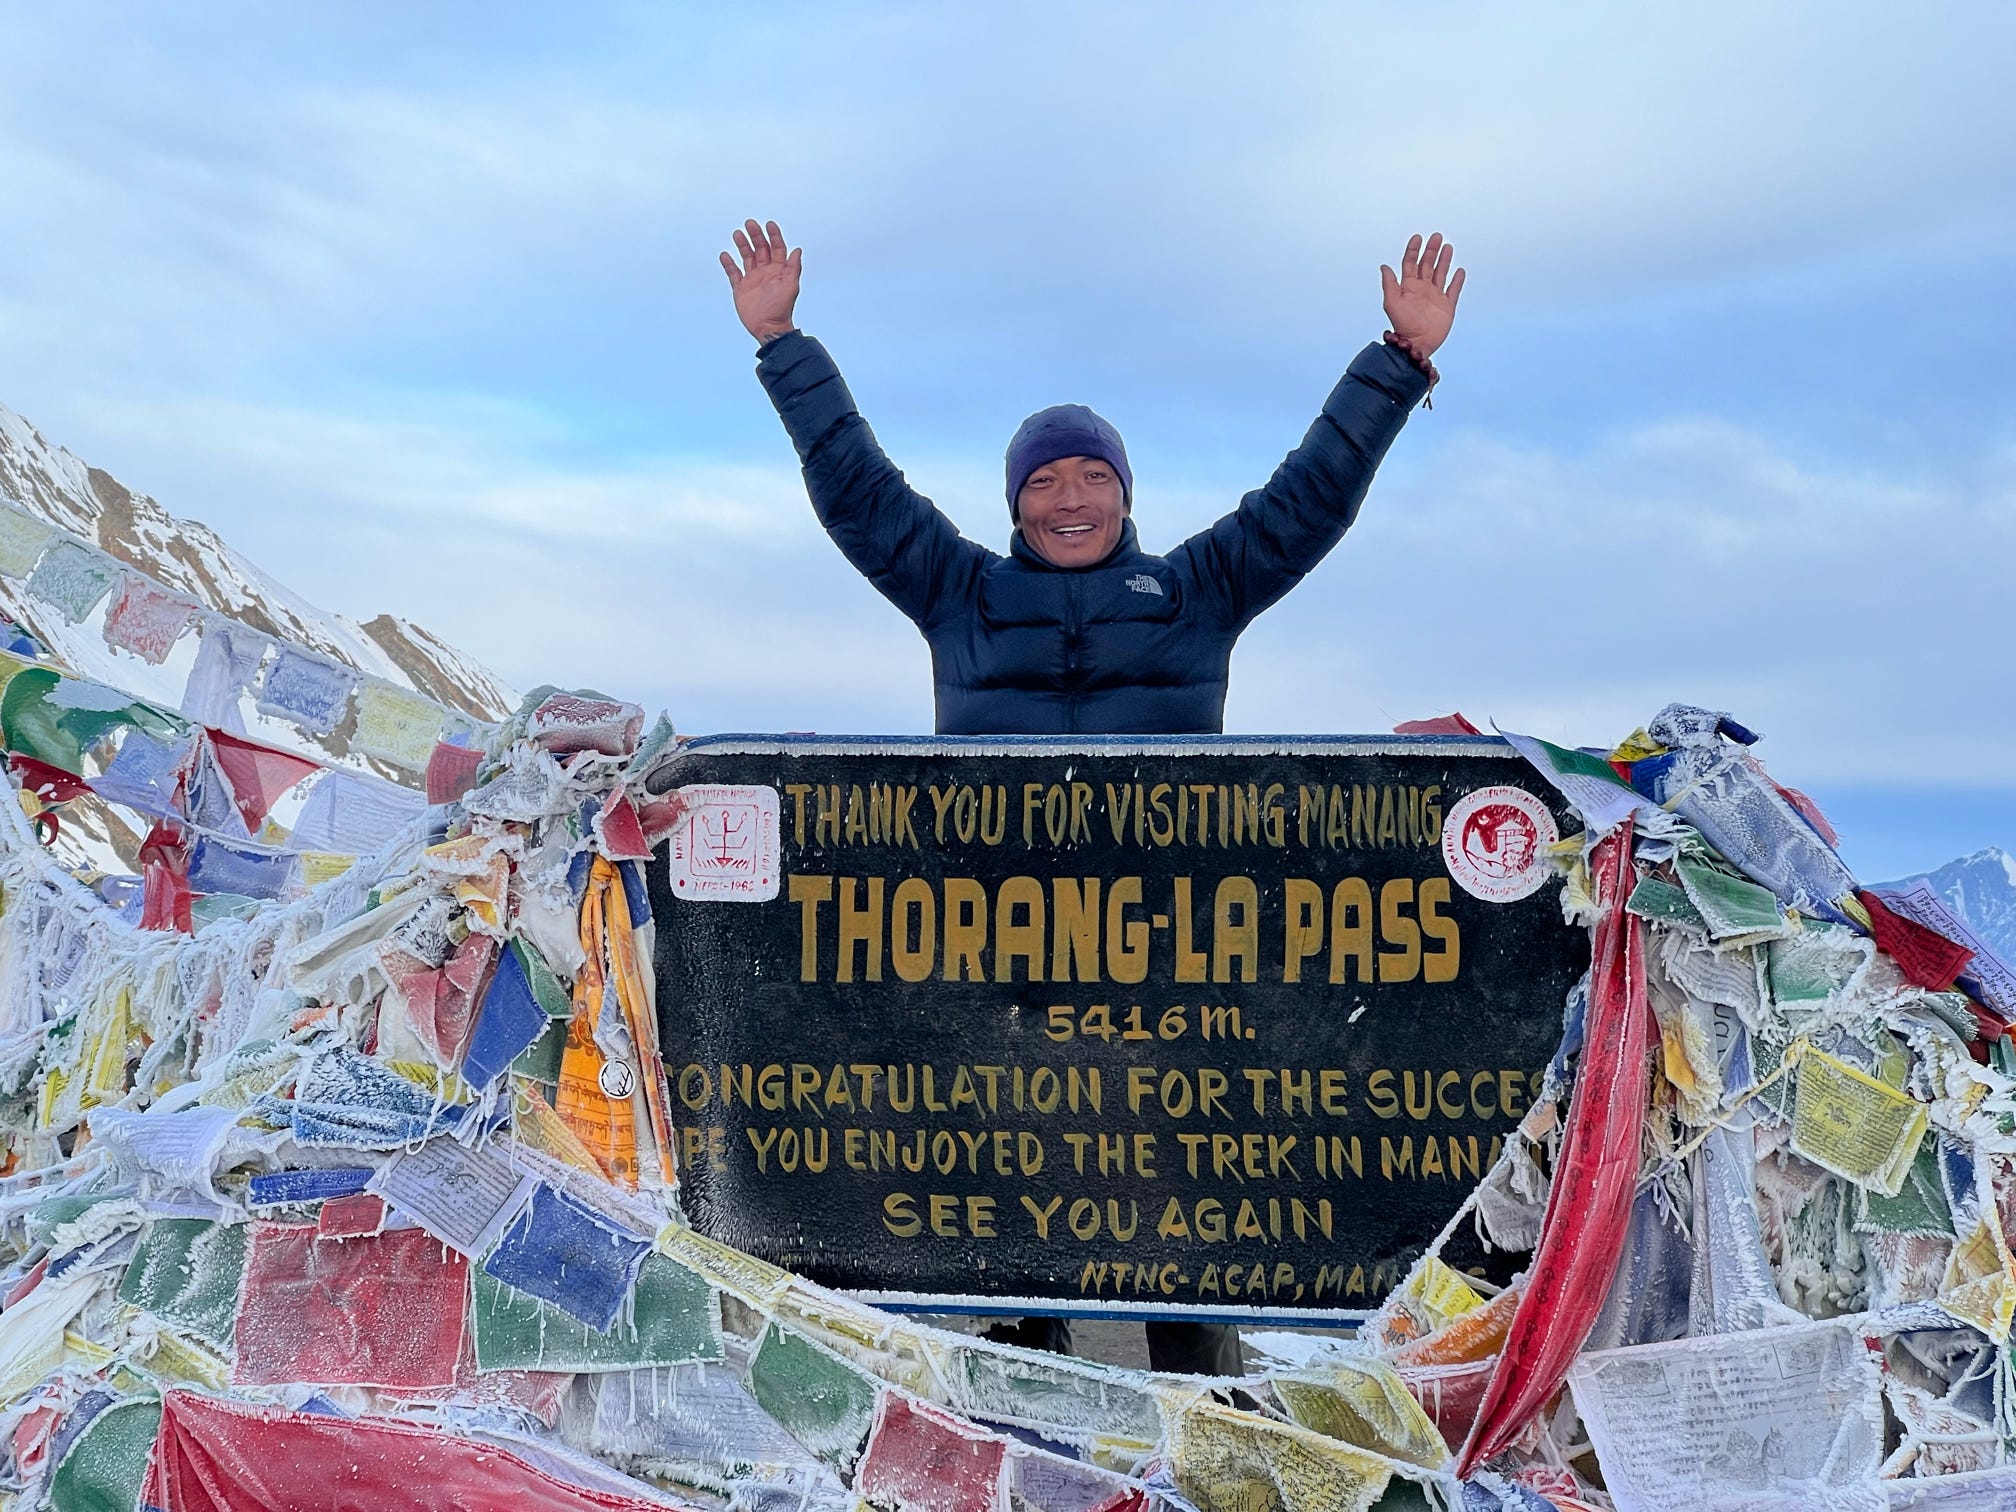
The Annapurna Circuit trekking map traces a large loop around the Annapurna massif in central Nepal. The trail follows the Marsyangdi River north and west, crosses Thorong La Pass at 5,416 meters, then drops into the Kali Gandaki valley on the far side.
Most maps show the route running counterclockwise. You start in green, terraced foothills near Besisahar and finish in the dry, wind-carved landscape around Jomsom. Manang and Muktinath sit in between as the two major landmarks.
Reading the map this way turns the trek into a story with three parts: the lower valley, the high approach, and the pass with its long descent.
Annapurna Circuit Trek Route Map Overview
The Annapurna Circuit trek route runs through a fixed sequence of stops: Besisahar or Bhulbhule, Dharapani, Chame, Pisang, Manang, Yak Kharka, Thorong Phedi, Thorong La Pass, Muktinath, and Jomsom, with most trekkers continuing on to Pokhara from there. Every guided itinerary on this route follows this same core corridor, even when the exact daily breakdown varies.
| Stage | Approx. Altitude | Notes |
| Besisahar | 820 m | Traditional starting point |
| Chame | 2,710 m | District headquarters, last larger town before Manang |
| Manang | 3,519 m | Main acclimatization stop |
| Thorong Phedi | 4,525 m | Final camp before the pass |
| Thorong La Pass | 5,416 m | Highest point on the route |
| Muktinath | 3,760 m | First stop after the pass, sacred temple site |
| Jomsom | 2,720 m | Common exit point, road and small airstrip |
Reading this sequence alongside a visual map makes the trek’s shape much clearer than a written itinerary alone. The climb to Manang is gradual, the push to Thorong La is the steepest sustained section, and the descent into the Mustang valley beyond the pass drops quickly into noticeably drier terrain.
Annapurna Circuit Trek Map: Day-by-Day Breakdown
Beyond the overview stages, a detailed map breaks the route into individual walking days, each with its own distance and elevation change. This level of detail matters more than the overview table for actually pacing a trek, since two days covering similar distance can demand very different effort depending on elevation gain.
| Day | Route Segment | Approx. Walking Time |
| 1–2 | Besisahar/Chame to Pisang | 5–6 hours per day |
| 3 | Pisang to Manang | 5–6 hours |
| 4 | Manang (acclimatization) | Short hike, no net progress |
| 5 | Manang to Yak Kharka | 3–4 hours |
| 6 | Yak Kharka to Thorong Phedi | 3–4 hours |
| 7 | Thorong Phedi to Muktinath via Thorong La | 7–9 hours |
| 8 | Muktinath to Jomsom | 4–5 hours |
Actual day counts shift depending on your exact start point and whether Tilicho or Ice Lake is added, but this segment breakdown holds across most standard itineraries. The pass-crossing day is consistently the longest on any properly detailed map, both in hours walked and in elevation change covered.
Walking times listed here assume a moderate, guided pace rather than a fast independent push, since rushing any of these segments is exactly the kind of shortcut that undermines acclimatization. A map that only shows distance, without walking-time estimates built around a sensible pace, tends to understate how long the higher segments actually take.
Annapurna Circuit Trek 12 Days: Map and Distance
A 12-day Annapurna Circuit trek map is the most compressed version of this route that still keeps acclimatization intact, typically achieved by starting the walking portion at Chame or Dharapani rather than Besisahar. This shaves two to three days of lower-valley walking off the standard itinerary without touching the higher, altitude-critical sections at all.
On a 12-day map, the core sequence from Chame through Manang, Thorong La, and down to Muktinath or Jomsom stays exactly the same as the longer 17-day version, since this middle section is where acclimatization needs are fixed rather than flexible. The distance saved comes entirely from the lower valley, where road access already makes vehicle-assisted travel a reasonable trade-off for most trekkers.
Total walking distance on a 12-day map typically falls in the 100 to 130 kilometer range, noticeably less than the 160 to 230 kilometer figure quoted for a fully walked route from Besisahar. This is a case where a shorter map genuinely reflects a shorter trip, rather than the same distance compressed into fewer, harder days.
Annapurna Circuit Trek Map with Distance
Total distance on the Annapurna Circuit trek map generally falls between 160 and 230 kilometers, with the wide range coming down to how much of the lower valley you walk versus cover by vehicle. A fully walked route from Besisahar sits at the higher end, while a jeep-assisted start from Chame or Dharapani trims meaningful distance off the total.
Daily distances vary by section rather than staying constant across the trek. Lower valley days between Besisahar and Chame often cover 15 to 20 kilometers on gentler terrain, while days approaching Manang and the final push to Thorong La cover less ground, sometimes under 10 kilometers, but take considerably longer due to altitude and elevation gain.
The descent from Thorong La into Muktinath is the single longest continuous stretch on most maps, dropping over 1,600 meters in one day. This is worth marking clearly on any map you’re using to plan pacing, since it’s as demanding on the legs as the ascent is on the lungs.
Side trips change this total meaningfully. Adding Tilicho Lake or Ice Lake near Manang adds distance beyond the core loop shown on a basic map, which is worth accounting for separately rather than folding into the standard 160 to 230 kilometer range most maps quote for the main route alone.
Annapurna Circuit Trek Altitude Map and Elevation Chart
The elevation profile is the most useful part of any Annapurna Circuit trek map, since altitude gain explains the trek’s difficulty far better than distance alone. The route climbs steadily from around 820 meters near Besisahar to 5,416 meters at Thorong La, then drops sharply into the rain-shadow valley toward Muktinath.
Two sections stand out clearly on the elevation chart: the approach into Manang, where the trail gains altitude gradually over several days, and the final stretch from Thorong Phedi over the pass, where the climb becomes steep and sustained in a single push. Between these two sections, most itineraries build in a dedicated acclimatization day at Manang, visible on the profile as a flat stretch rather than a climb.
Trekkers reading an elevation profile for the first time should focus on the rate of climb between overnight stops rather than the total elevation gained, since a itinerary that gains altitude too quickly between sleeping points is the clearest visual warning sign of a poorly paced schedule.
Road Sections vs Walking Trail: Reading the Map Correctly
Road access has changed parts of the Annapurna Circuit map since the route was first popularized, and a current map needs to distinguish clearly between road sections and dedicated walking trail. The lower Marshyangdi valley between Besisahar and Chame now overlaps with a gravel road used by local jeeps and buses, which some trekkers choose to ride rather than walk.
On the far side of the circuit, the stretch below Muktinath toward Jomsom is similarly road-accessible, and many trekkers cover this section by vehicle rather than on foot. Neither road section removes any of the trek’s core difficulty, since both sit well below the altitude and pass-crossing challenge that define the route.
Trekkers choosing to walk the road sections anyway, rather than drive or use the NATT alternative, should expect dust and vehicle traffic rather than the quieter trail experience found higher up the route. A map that marks these sections clearly lets you decide that trade-off in advance rather than discovering it on the ground.
For trekkers who want to avoid road walking entirely, the NATT (New Annapurna Trekking Trail) network offers a walking-only alternative that runs parallel to the road in several sections, staying on dedicated trail rather than crossing paths with vehicle traffic. A map that marks NATT alternatives clearly is considerably more useful for planning than one showing only the main road-adjacent route.
Where Does the Annapurna Circuit Trek Start and End?
The traditional Annapurna Circuit trek starts at Besisahar and ends at Nayapul or Pokhara, covering the full historical route. Most modern itineraries, including guided departures, now start further along at Chame or Dharapani, using a jeep to cover the lower, increasingly road-heavy section before walking begins in earnest.
At the far end, the trek typically finishes at Muktinath, Jomsom, or continues on to Pokhara depending on the itinerary. Jomsom is the most common modern exit point, offering both road access and a small airstrip, while trekkers on a full walking itinerary sometimes continue further toward Tatopani or Ghorepani before finishing near Pokhara.
Choosing a modern, shortened start and end point doesn’t change the trek’s core difficulty, since the altitude and pass crossing that define the route sit entirely within the middle section every itinerary shares.
Trekkers extending beyond Jomsom sometimes continue on toward Tatopani and Ghorepani, adding the Poon Hill viewpoint before finishing near Pokhara rather than flying out from Jomsom directly. This extension shows up on a fuller map as an additional southward branch rather than a change to the core loop itself, and it adds several extra days rather than replacing any part of the standard route.
Annapurna Circuit Trek Map: Clockwise or Counter-Clockwise?
Nearly every map of this route is drawn assuming a counter-clockwise direction, starting near Besisahar and finishing at Muktinath or Jomsom, because this direction gains altitude far more gradually before Thorong La than the reverse does. A counter-clockwise map shows a long, steady climb toward the pass followed by a single steep descent, which is exactly the pacing pattern acclimatization requires.
Trekking clockwise, starting from the Jomsom side, compresses that same altitude gain into a much shorter distance, since you’d be climbing to 5,416 meters from a lower starting elevation in far fewer days. A map drawn for clockwise travel looks noticeably steeper on the approach to the pass, which is part of why this direction is both less common and generally considered more demanding.
Guided departures, including every standard Lhasso Adventure itinerary on this route, run counter-clockwise by default for exactly this reason, so any map provided alongside a booking reflects that same direction.
Weather and Seasonal Changes to the Annapurna Circuit Trek Map
A map of this route stays structurally the same year-round, but which sections are actually usable shifts with the season in ways worth marking before departure. Winter snow can temporarily close the direct line over Thorong La, and trekkers checking a map during this window should treat the pass crossing as conditional rather than fixed until confirmed closer to departure.
Monsoon season affects the lower valley sections more than the high pass itself, with occasional landslide risk along parts of the Besisahar to Chame corridor that a static map can’t show in real time. Checking current trail conditions alongside any map, rather than relying on the map alone, matters most during these shoulder and off-season windows.
None of this changes the route shown on a standard map, but it does mean a map should be read as a guide to the trail’s structure rather than a guarantee that every section is passable on any given day regardless of season.
What Makes the Best Annapurna Circuit Trek Map
The best Annapurna Circuit trek map combines four things most basic trail maps leave out: an accurate elevation chart, clearly marked road versus walking-trail sections, permit checkpoint locations, and the Tilicho and Ice Lake side branches shown distinctly from the main loop. A map missing any one of these leaves a real planning gap rather than a minor omission.
Currency matters just as much as detail, since road access on this route has shifted meaningfully over the past decade. A highly detailed map built before a road extension reached Chame, for example, can actively mislead a trekker into planning a walking day where a jeep-accessible road now runs.
The most reliable source for a current, accurate map is Lhasso Adventure directly, tied to your actual booked itinerary, rather than a generic trekking map pulled from a general search. A map built around your specific start point, side trips, and current road conditions is worth more than an average version of the route pulled from somewhere unrelated to your actual trip.
Annapurna Circuit Trek Map PDF and Download
A downloadable or printable Annapurna Circuit trek map PDF is a common request from trekkers planning their own route study before departure. Lhasso Adventure provides a route map and elevation overview directly to anyone booking a departure, which is generally more useful than a generic downloadable file since it reflects the exact itinerary and start point you’ll actually be following.
A PDF download is most useful as a planning reference before the trek rather than a real-time navigation tool on the trail itself, since a static file can’t update for road changes or trail closures the way a properly maintained GPX track can. Treating a downloaded map with distance and elevation figures as a study aid, and pairing it with an offline GPS app for actual on-trail navigation, covers both needs properly.
Annapurna Circuit Trek Map on Maps.me and Other Offline Apps
Maps.me is one of the most widely used offline navigation apps on the Annapurna Circuit, valued mainly for working without any data signal once downloaded, which matters given how limited connectivity becomes past Chame. Mapy.cz offers similar offline coverage and is a common alternative many trekkers run alongside Maps.me as a backup.
Neither app is purpose-built for trekking specifically, so trail labeling and side-branch accuracy, particularly around less common routes like Tilicho Lake, can be less precise than on the main loop. Downloading the relevant offline region before leaving Kathmandu is essential, since neither app functions usefully without that data already saved to your device.
For trekkers wanting more detailed GPX track support built specifically around elevation and pacing, Gaia GPS and Komoot offer a more trekking-focused alternative, though both work best as a supplement to Maps.me’s broad offline coverage rather than a full replacement for it.
Annapurna Circuit Trek Map on Google Maps
Google Maps shows a version of the Annapurna Circuit trail, but it isn’t a reliable primary source for planning this specific trek. Consumer mapping apps built for driving and city navigation often miss trekking-specific detail like NATT trail alternatives, seasonal bridge closures, or which sections have shifted onto road since the map data was last updated.
Where Google Maps is genuinely useful is general orientation before departure, getting a rough sense of the region’s geography and how Besisahar, Manang, and Muktinath relate to each other on a wider map. For actual trail navigation, elevation planning, and checkpoint locations, a trekking-specific map or GPX file consistently outperforms a general-purpose mapping app built for entirely different use cases.
Trekkers who rely on Google Maps alone sometimes find themselves routed toward the road rather than the dedicated walking trail, simply because that’s the path the app’s routing algorithm defaults to. Cross-checking against a trekking-specific map avoids this mismatch before it costs you a day’s walking plan.
Common Annapurna Circuit Trek Map Mistakes to Avoid
The most common mapping mistake is treating total distance as the main planning metric, when elevation gain between overnight stops matters considerably more for pacing and altitude safety. A map showing two days of similar distance can hide the fact that one gains 200 meters and the other gains 900.
A second common mistake is using an outdated map that hasn’t been updated to reflect current road access, particularly around Besisahar to Chame and the Jomsom side. Trekkers occasionally arrive expecting a walking trail exactly where a road has since been built, which changes both the experience and the practical transport options available that day.
The third mistake is skipping the elevation profile entirely and planning purely off the route line, which is the visual equivalent of judging the Annapurna Circuit trek difficulty by distance alone rather than by what actually makes each day hard. A map used properly answers both “where am I going” and “how hard will today actually be,” and skipping the second question is where most planning mistakes on this route originate.
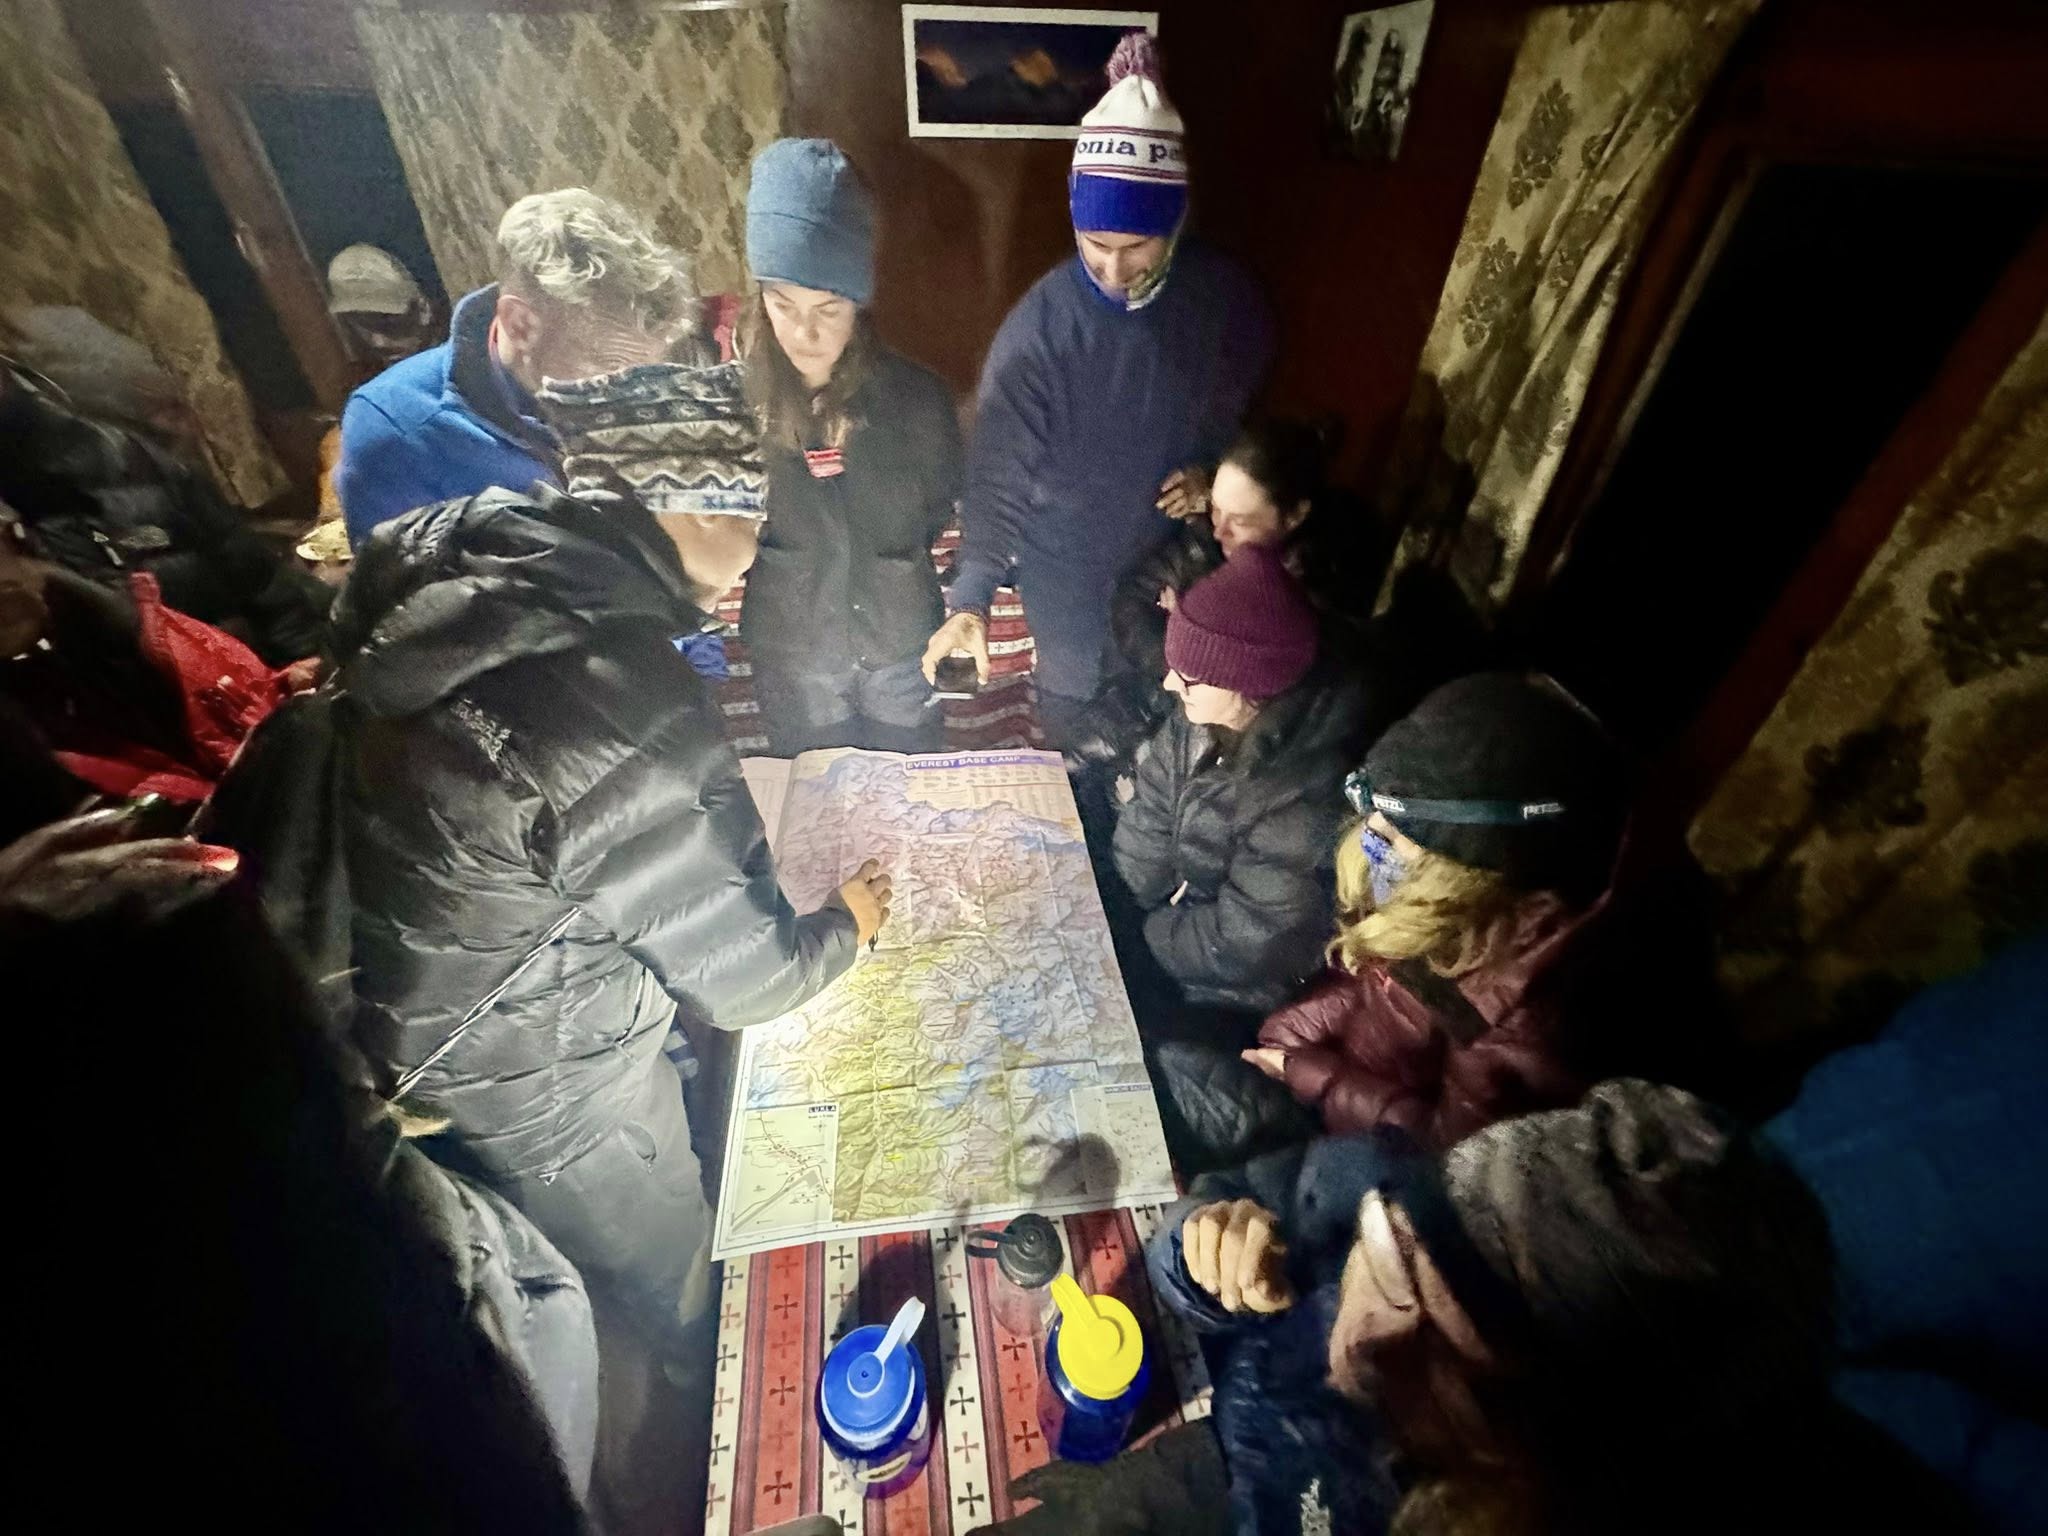
Annapurna Circuit Trek Map with Tilicho Lake
Two high-altitude side trails branch off the main Annapurna Circuit map near Manang: the Ice Lake trail, a steep day hike directly above the village, and the longer Tilicho Lake trail, which climbs further off-route to one of the highest lakes in the world. Both appear as clearly marked spurs rather than part of the main loop on any properly detailed map.
The Annapurna Circuit with Tilicho and Ice Lakes Trek builds both detours into a single 14-day itinerary, which on a map shows as two side branches added onto the core route around the Manang section. Trekkers following the standard 17-day route without these detours will see the main loop continue directly from Manang toward Yak Kharka without either branch.
Marking these branches on your own map matters for pacing, since both add real elevation gain beyond what the main route already demands, even though neither replaces or shortens the core Thorong La crossing.
Manaslu and Annapurna Circuit Trek Map Compared
Manaslu Circuit and Annapurna Circuit are often mapped side by side, since both loop around a major Himalayan massif and cross a high pass above 5,000 meters. The Manaslu map covers a considerably more remote corridor, with Larkya La sitting at a similar elevation to Thorong La but with far fewer villages and teahouses marked along the approach.
Restricted-area permit boundaries are the biggest structural difference between the two maps. The Annapurna Circuit has no restricted zones beyond standard conservation-area permits, while a Manaslu map needs to clearly mark the special permit boundary, since trekking there without the correct paperwork isn’t an option the way a missed checkpoint on the Annapurna side might be.
For trekkers deciding between the two routes, the Annapurna map’s denser village spacing and lower logistical complexity generally make it the more approachable option to plan independently, while Manaslu’s map rewards trekkers who prefer a quieter, more remote corridor and don’t mind the added permit planning that comes with it.
Annapurna Circuit Trek Cost
Mapping the route is only part of planning a trip; what it costs to follow that map matters just as much. Guided packages on this route typically run USD 1,022 to USD 1,421 per person, with permit fees, guide and porter rates, and daily food and lodging costs shifting that number depending on group size and whether the itinerary includes the Tilicho and Ice Lake detour or follows the standard 17-day line shown throughout this guide.
Key Landmarks and Checkpoints on the Annapurna Circuit Trek Map
Permit checkpoints are marked at several fixed points along the route, most importantly near the start of the trek and again around Manang, where both the Annapurna Conservation Area Permit and TIMS registration are checked before you’re allowed to continue. A current map should show these checkpoint locations clearly, since arriving without proper paperwork at one of them can genuinely stall a day’s progress.
Beyond checkpoints, the map marks several landmarks worth planning around: the suspension bridges crossing the Marshyangdi River in the lower valley, the Braga and Manang monasteries near the main acclimatization stop, and the Muktinath temple complex, a significant Hindu and Buddhist pilgrimage site sitting just beyond the pass.
Villages themselves function as the map’s real waypoints more than any single landmark, since every overnight stop doubles as a checkpoint for pacing, teahouse availability, and, in Manang’s case, acclimatization.
The Himalayan Rescue Association post in Manang is worth marking specifically, since it runs daily altitude awareness talks and offers a point of reference if altitude symptoms need checking mid-trek. Its location, right in the village most itineraries use for a full acclimatization day, isn’t a coincidence.
How the Map Helps You Judge Annapurna Circuit Trek Difficulty
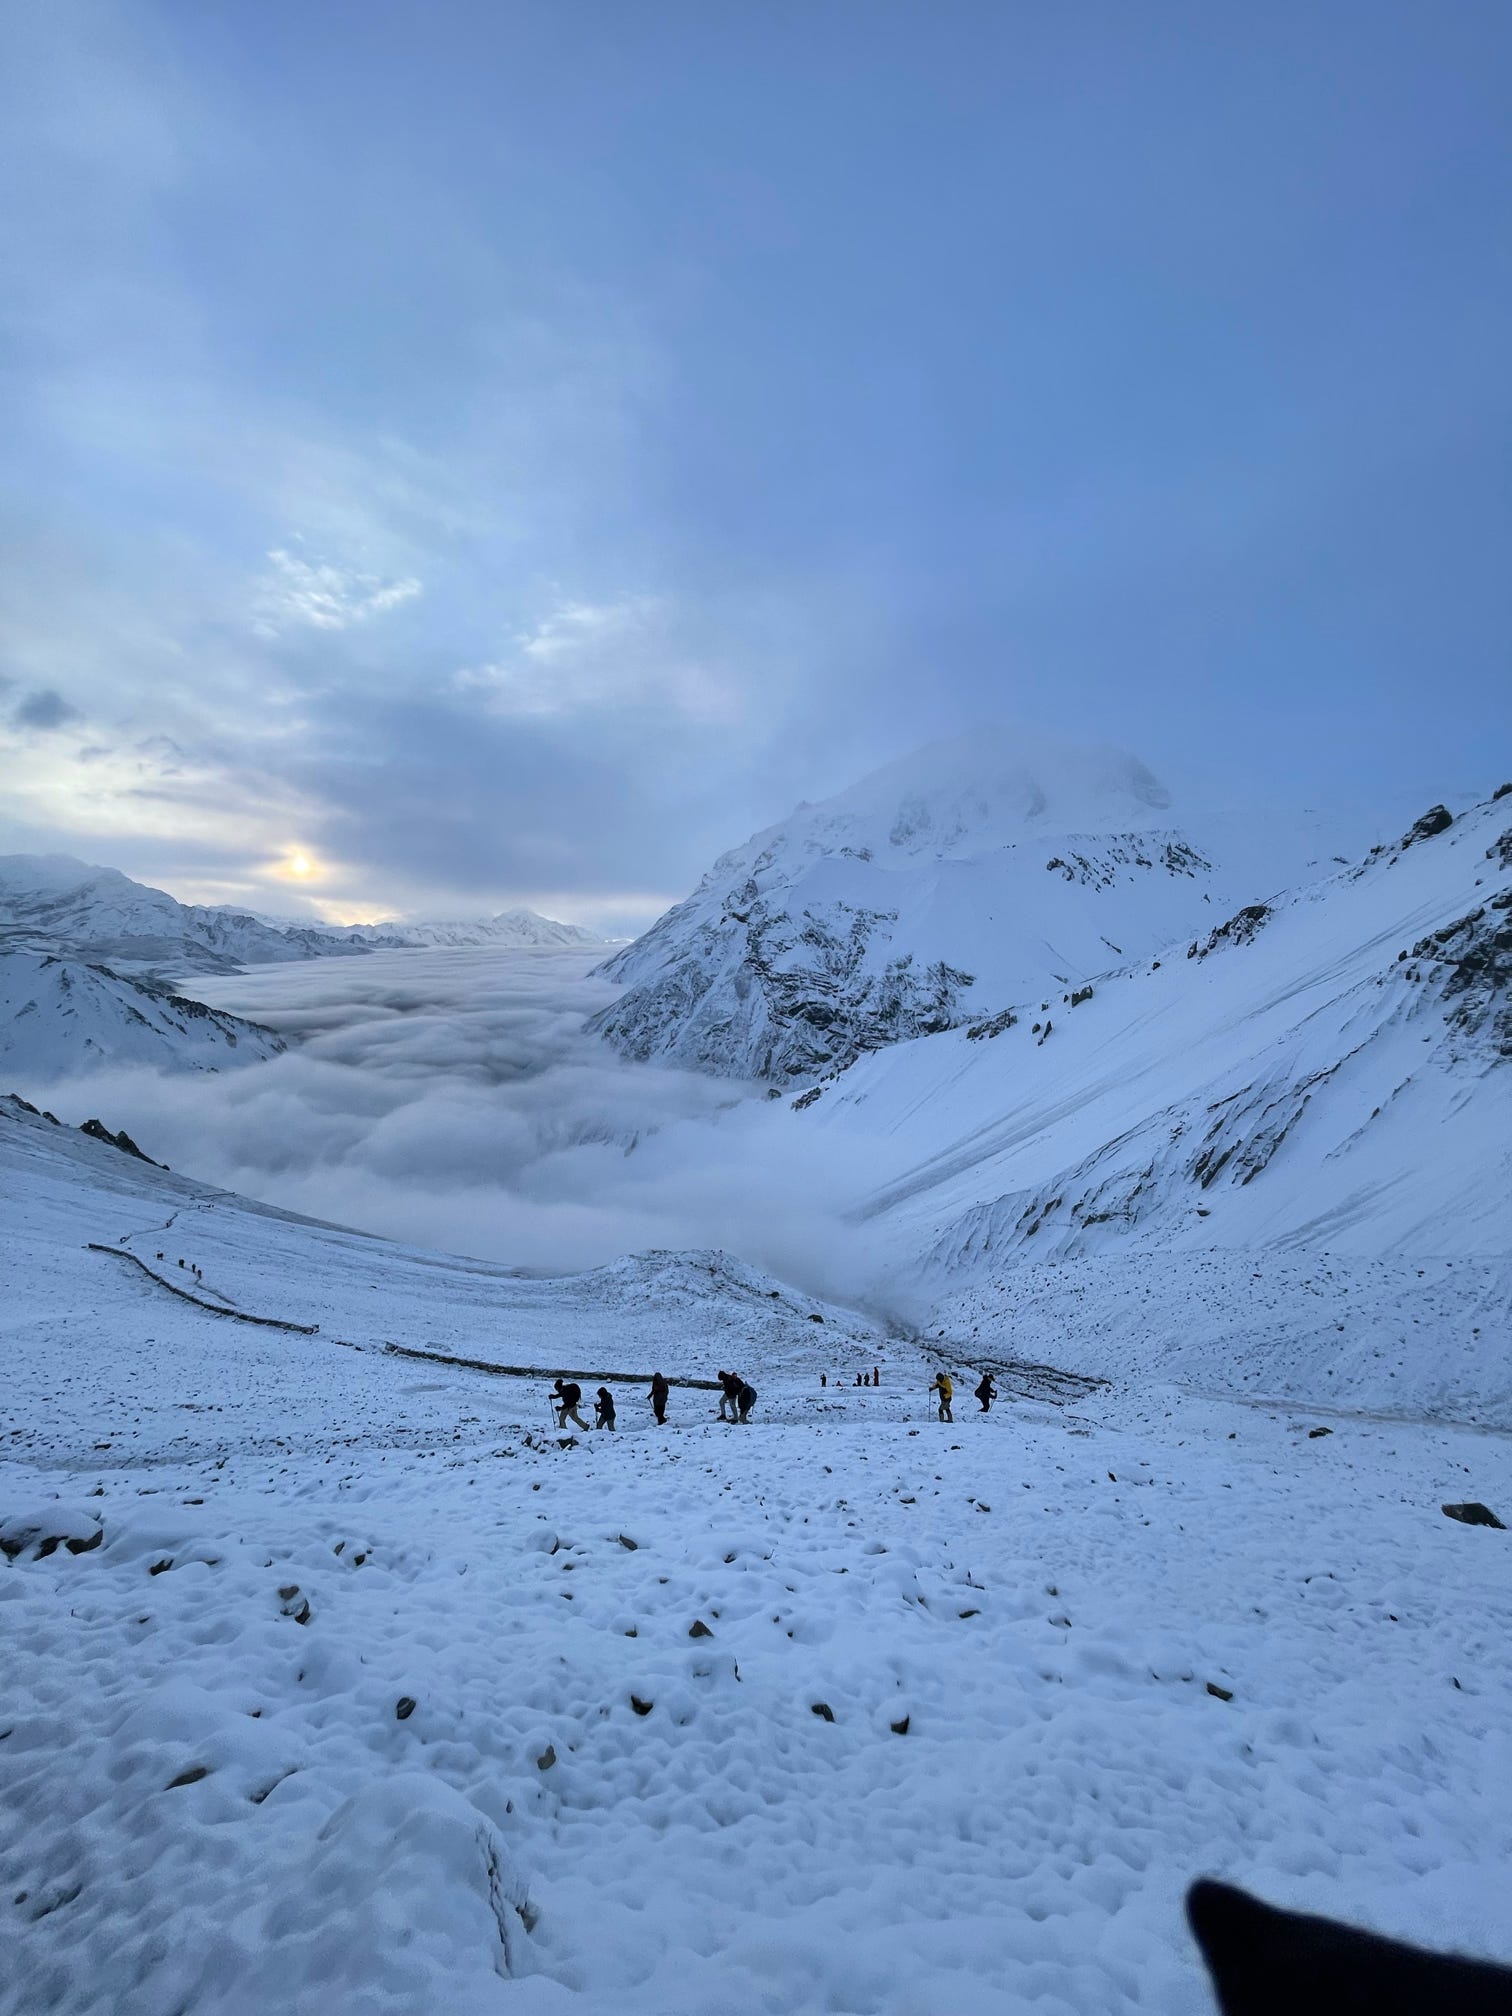
The steepest stretch on the entire loop is the single push from Thorong Phedi’s 4,525 meters over the 5,416-meter pass, covering more elevation gain in one day than any other section of the route. The acclimatization days a schedule builds in before reaching that push shape how that day actually feels far more than the total number of days on the itinerary does, which is why two trips covering the identical route can pace the climb into Manang so differently even when they look the same on paper.
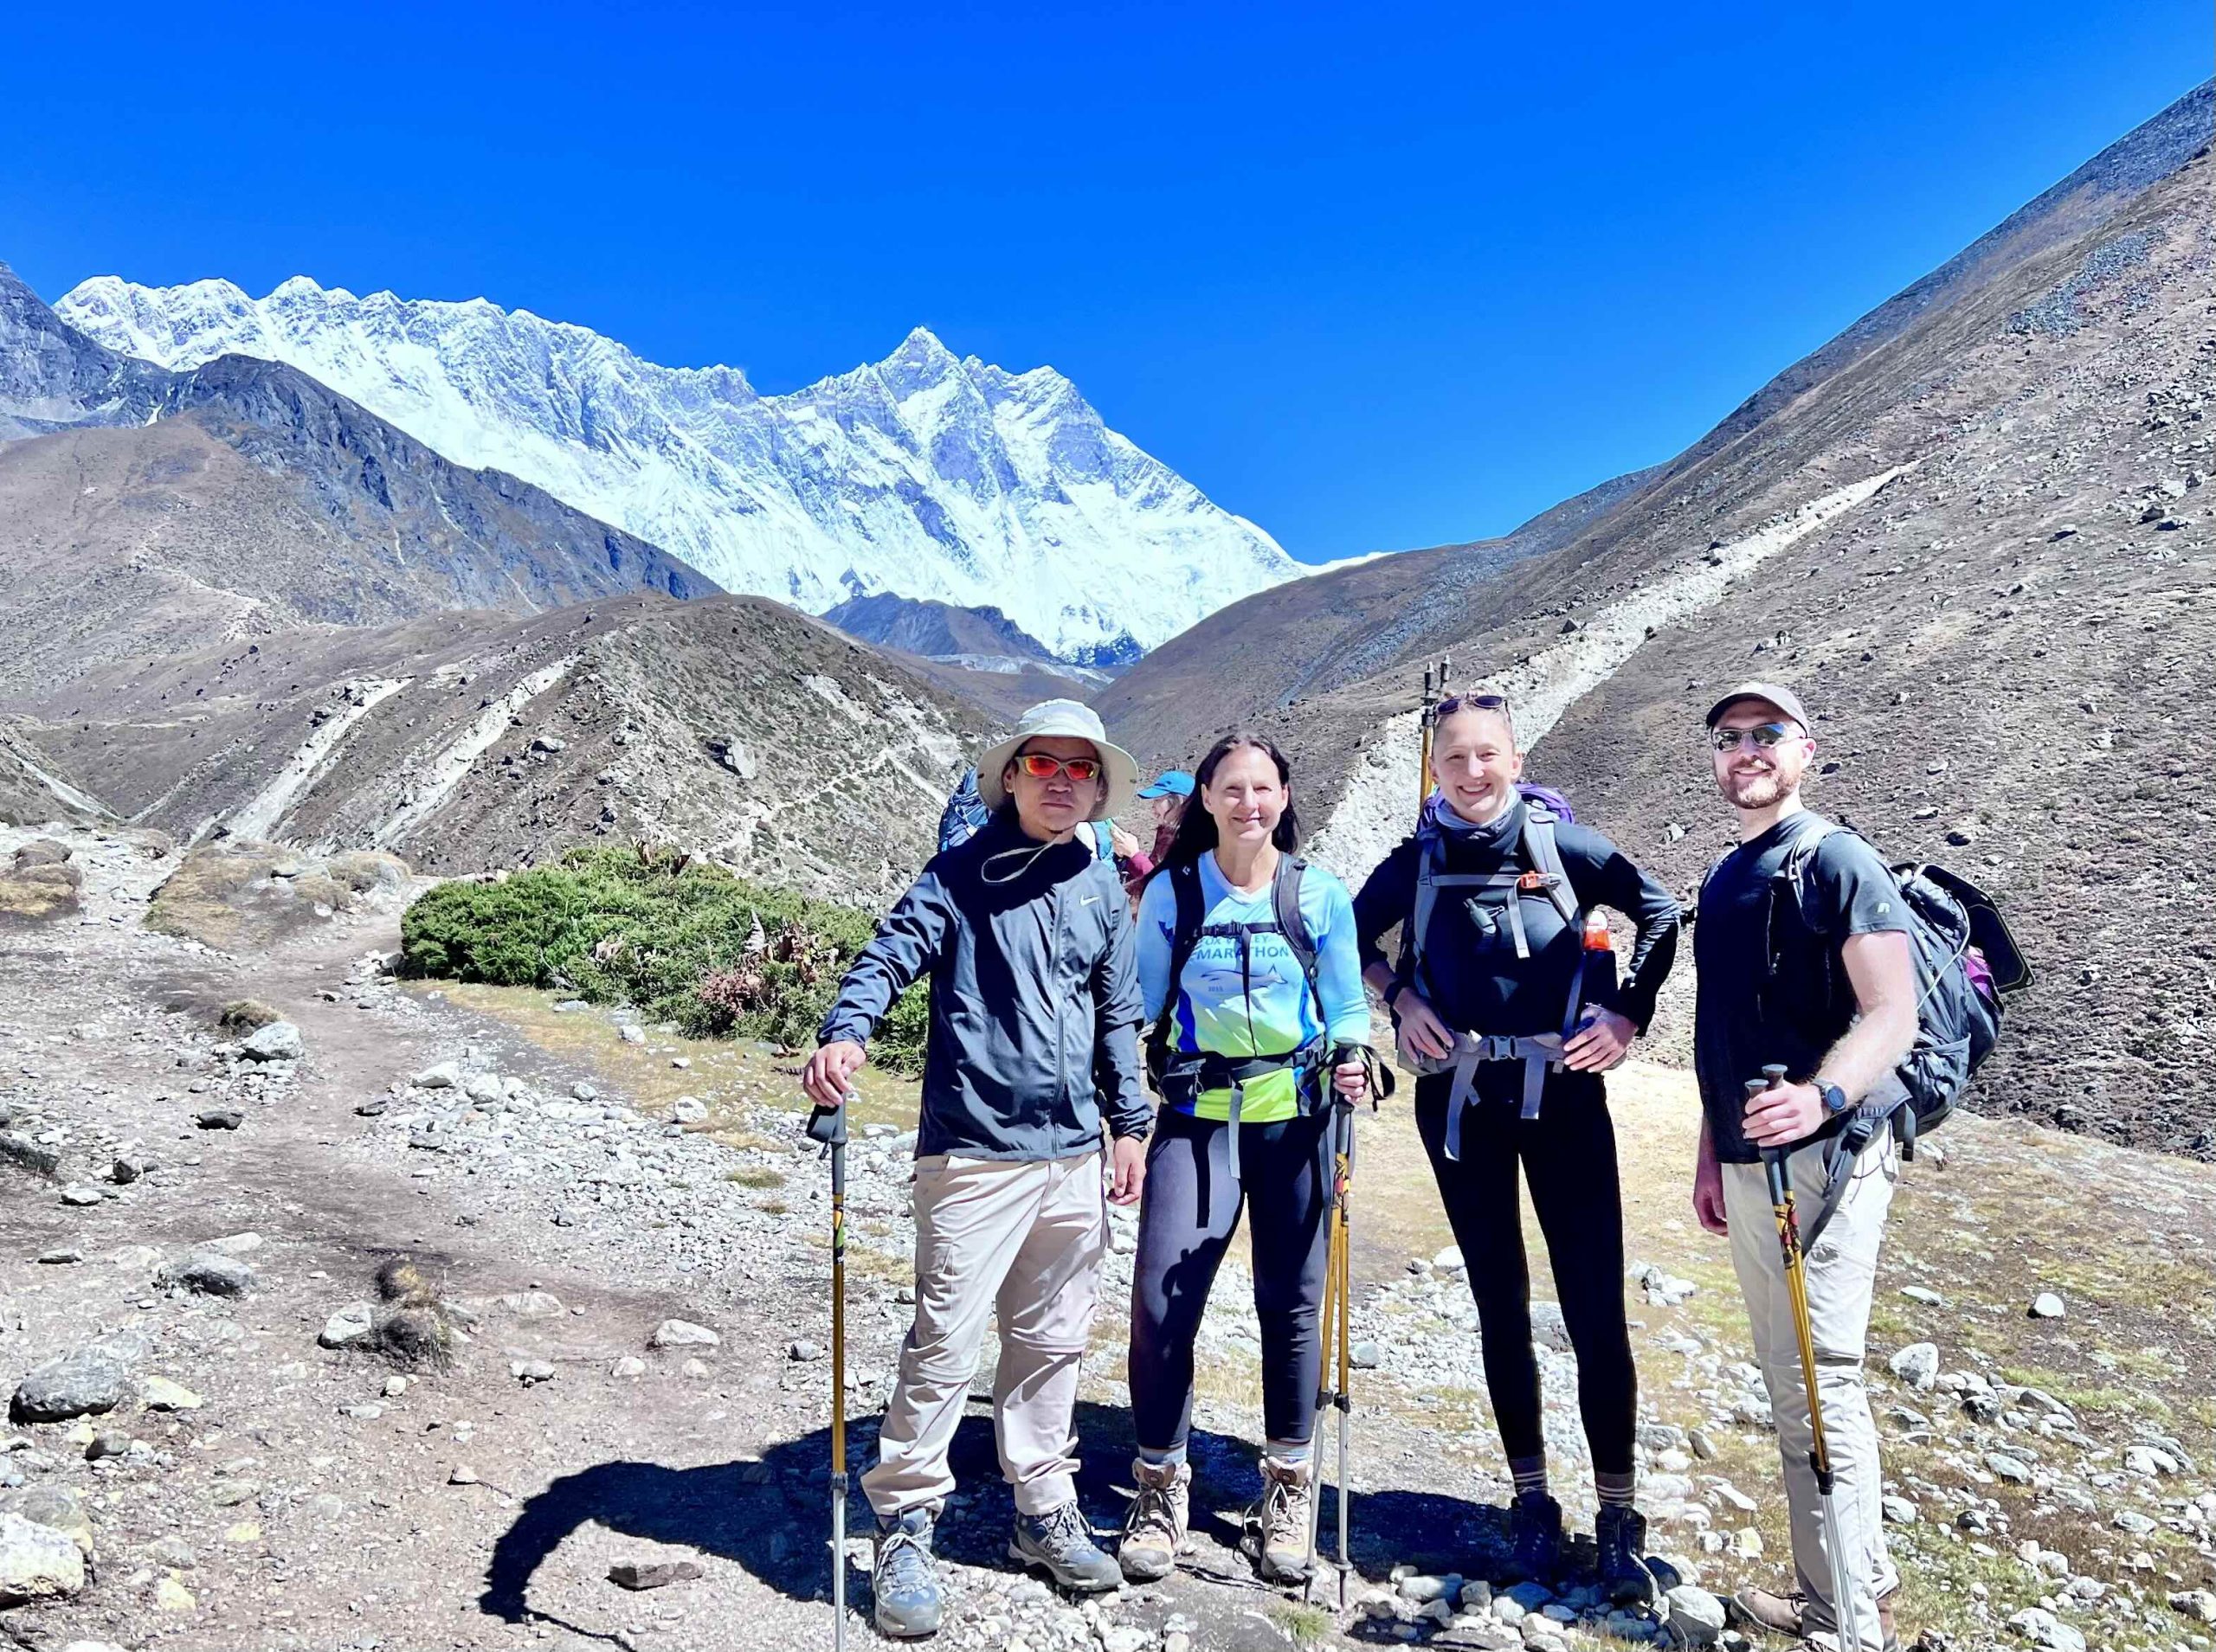
Lhasso Adventure’s guides, including Norbu Tamang and Bhim Tamang, plan each day’s distance against the elevation profile specifically, rather than dividing total distance evenly across the trek. Overlaying a day-by-day plan against the elevation chart this way is the clearest method for spotting a rushed schedule before you’re on the trail rather than partway up it.
A map read this way becomes a planning tool rather than just a reference, letting you ask specific, informed questions before booking: how many days sit between Chame and Manang, where exactly the acclimatization day falls, and how much elevation gets covered on the pass-crossing day itself.
Annapurna Base Camp vs Annapurna Circuit: Comparing the Maps
Annapurna Base Camp and the Annapurna Circuit share the same mountain range but look very different on a map. Base Camp follows a single valley in and back out again, while the Circuit loops fully around the massif, crossing from one valley system into an entirely different one on the far side of Thorong La.
This structural difference is why the two treks feel so distinct despite sharing a name. Annapurna Base Camp stays within one climate zone throughout, tops out at a lower maximum altitude around 4,130 meters, and finishes in 7 to 12 days, while the Circuit’s map crosses from subtropical lowland into high alpine desert over a considerably longer route.
For trekkers deciding between the two, the shape of each route on a map often makes the choice clearer than a written description alone. An out-and-back line suits trekkers wanting a shorter, more concentrated trip, while a full loop suits those prioritizing landscape variety and a genuine high-altitude pass crossing over a shorter timeline.
Frequently Asked Questions For Annapurna Circuit Trek Map with Distance
Now that guides are mandatory, does having a good map even matter anymore?
Yes. A guide handles route-finding and pacing decisions, but understanding the map still helps you follow the day’s plan, know what’s coming, and ask informed questions about pacing around the harder sections.
Does the map show which villages have reliable Wi-Fi or charging?
Not typically. Maps focus on route, elevation, and checkpoints; that kind of practical village-by-village detail is better covered in a packing or logistics guide than on the map itself.
Is the map the same whether I trek clockwise or counter-clockwise?
The route and landmarks stay the same either direction, but nearly every trekker follows it counter-clockwise, since that direction gains altitude more gradually before Thorong La.
How accurate are offline apps like Maps.me on this specific route?
Generally quite accurate for the main trail, though side branches like Tilicho Lake are sometimes less precisely mapped, which is one more reason a guide’s local knowledge matters on those detours specifically.
If the road keeps expanding, will the map keep changing?
It’s likely. Road access has already shifted where most itineraries start and end over the past decade, so checking that any map you’re using reflects current road conditions before departure is a reasonable habit.