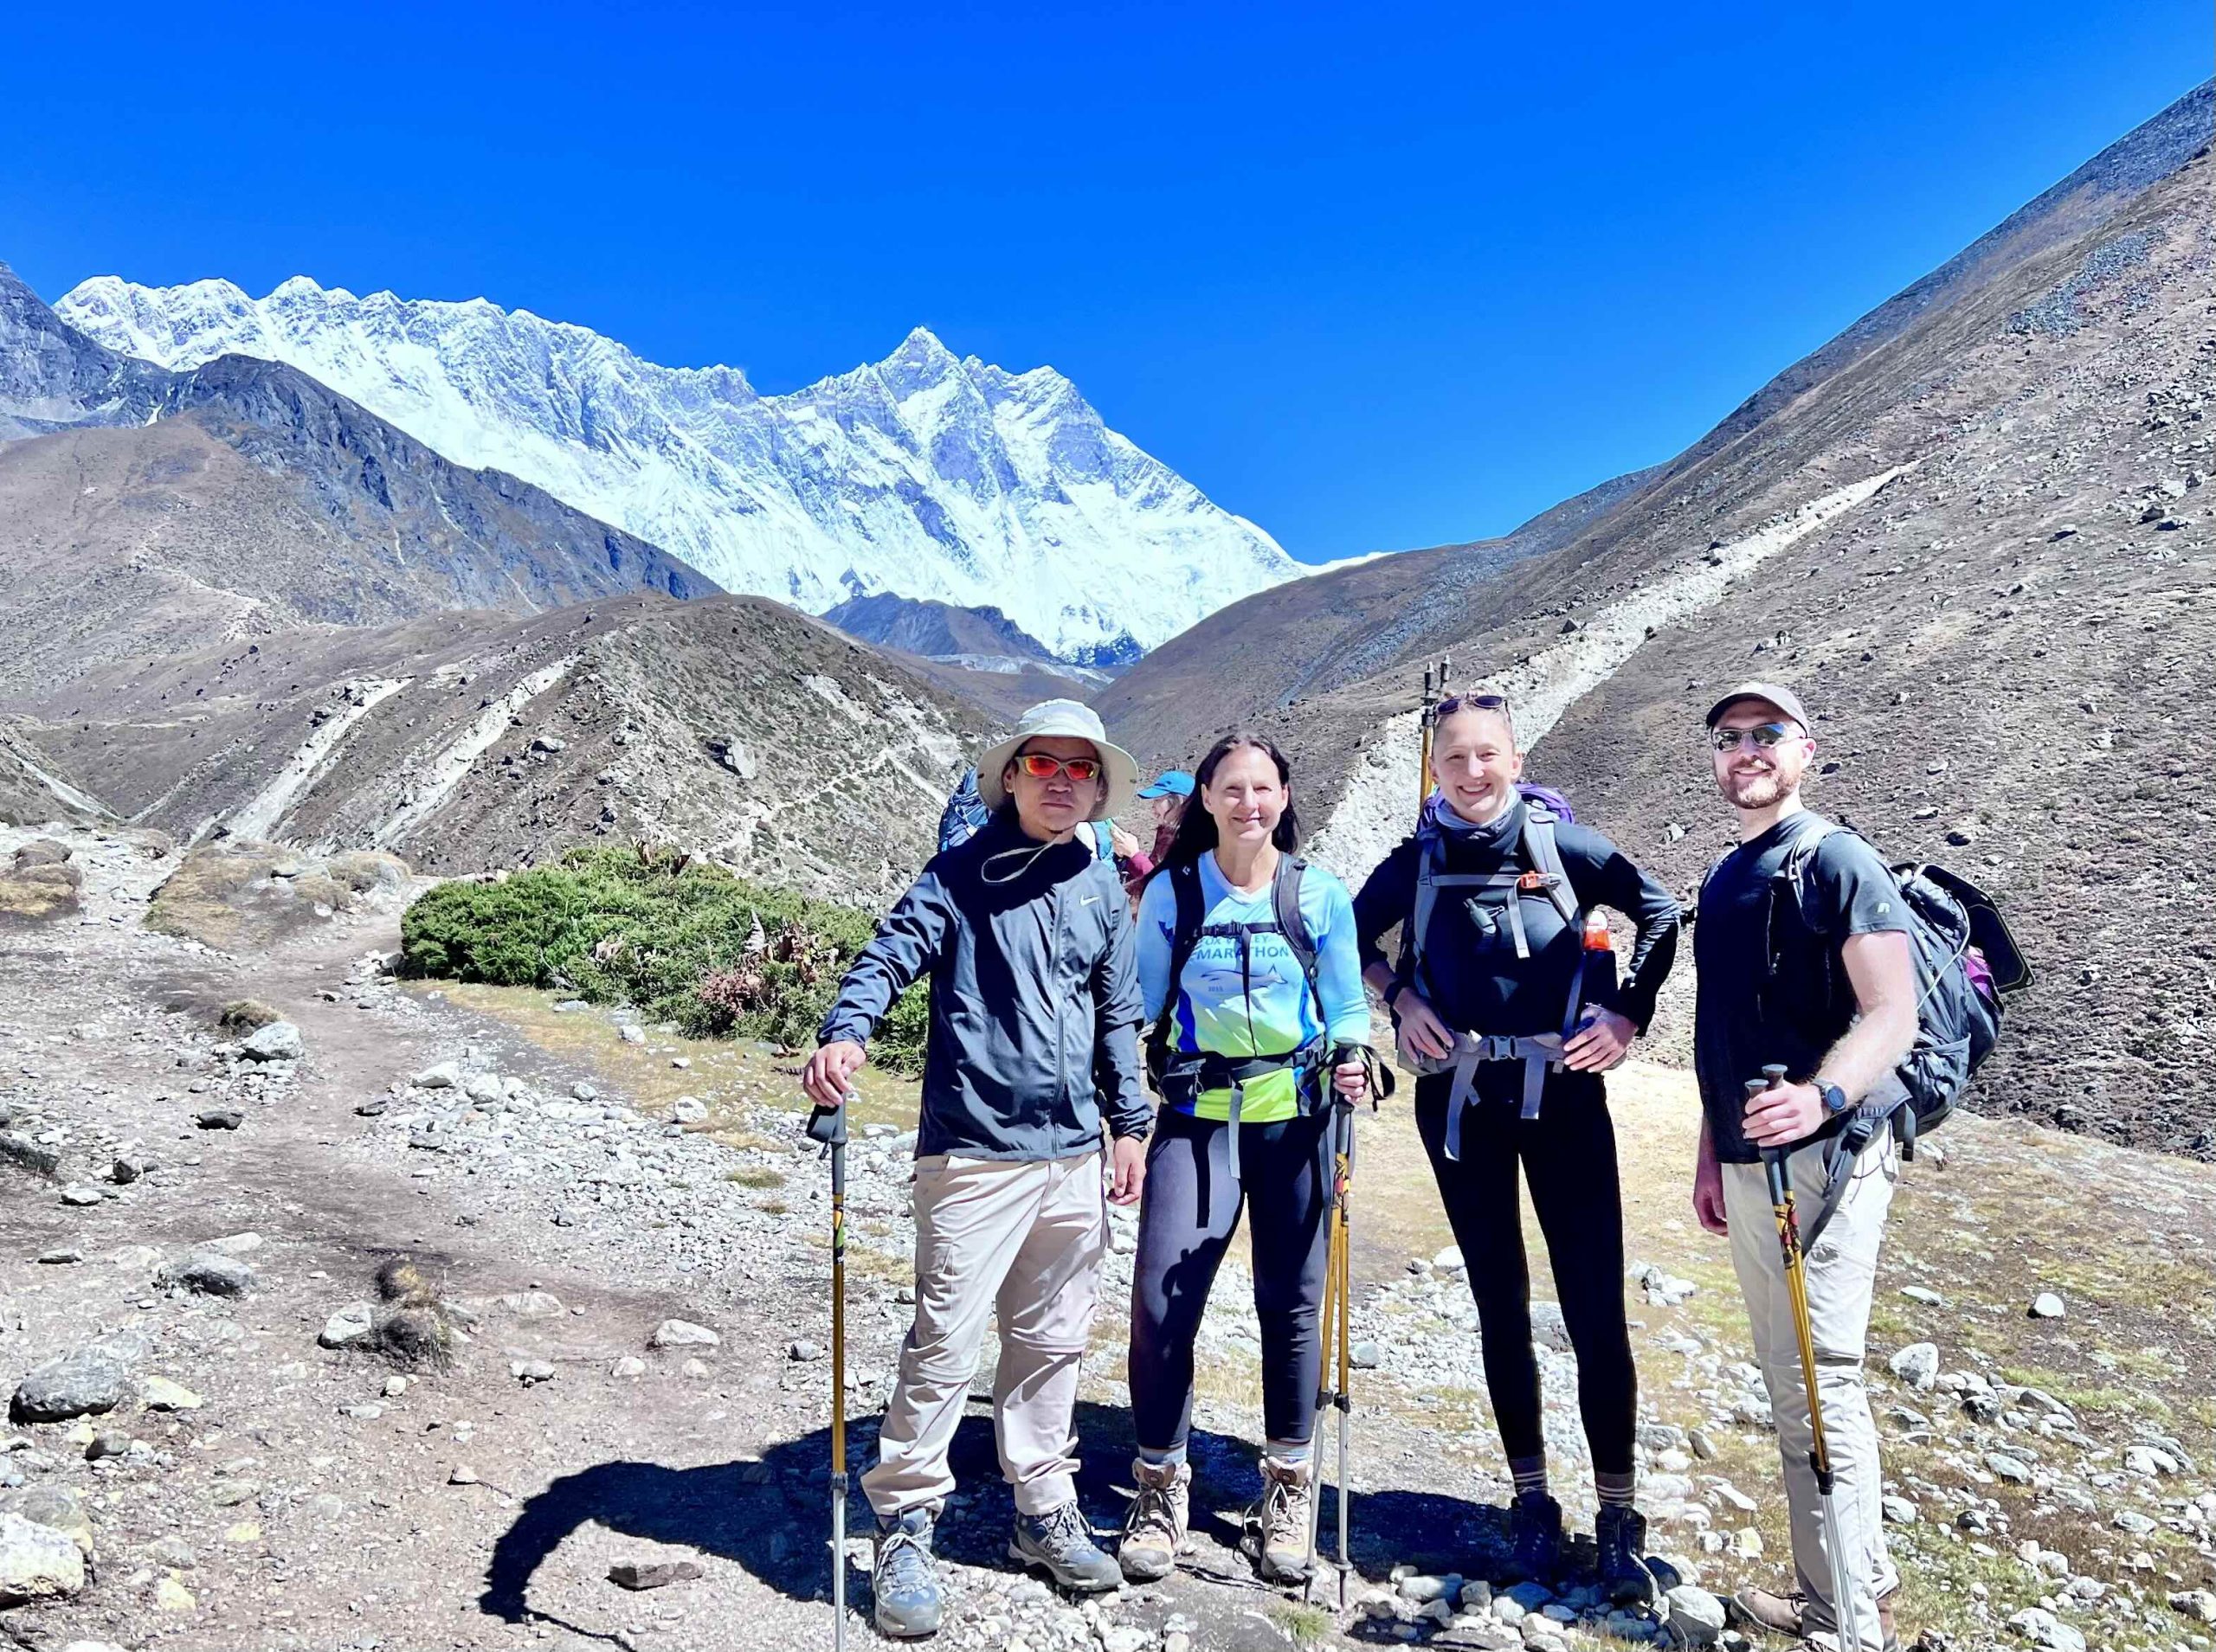
How to Prepare for the Everest Base Camp Trek
August 5, 2026 Lhasso Adventure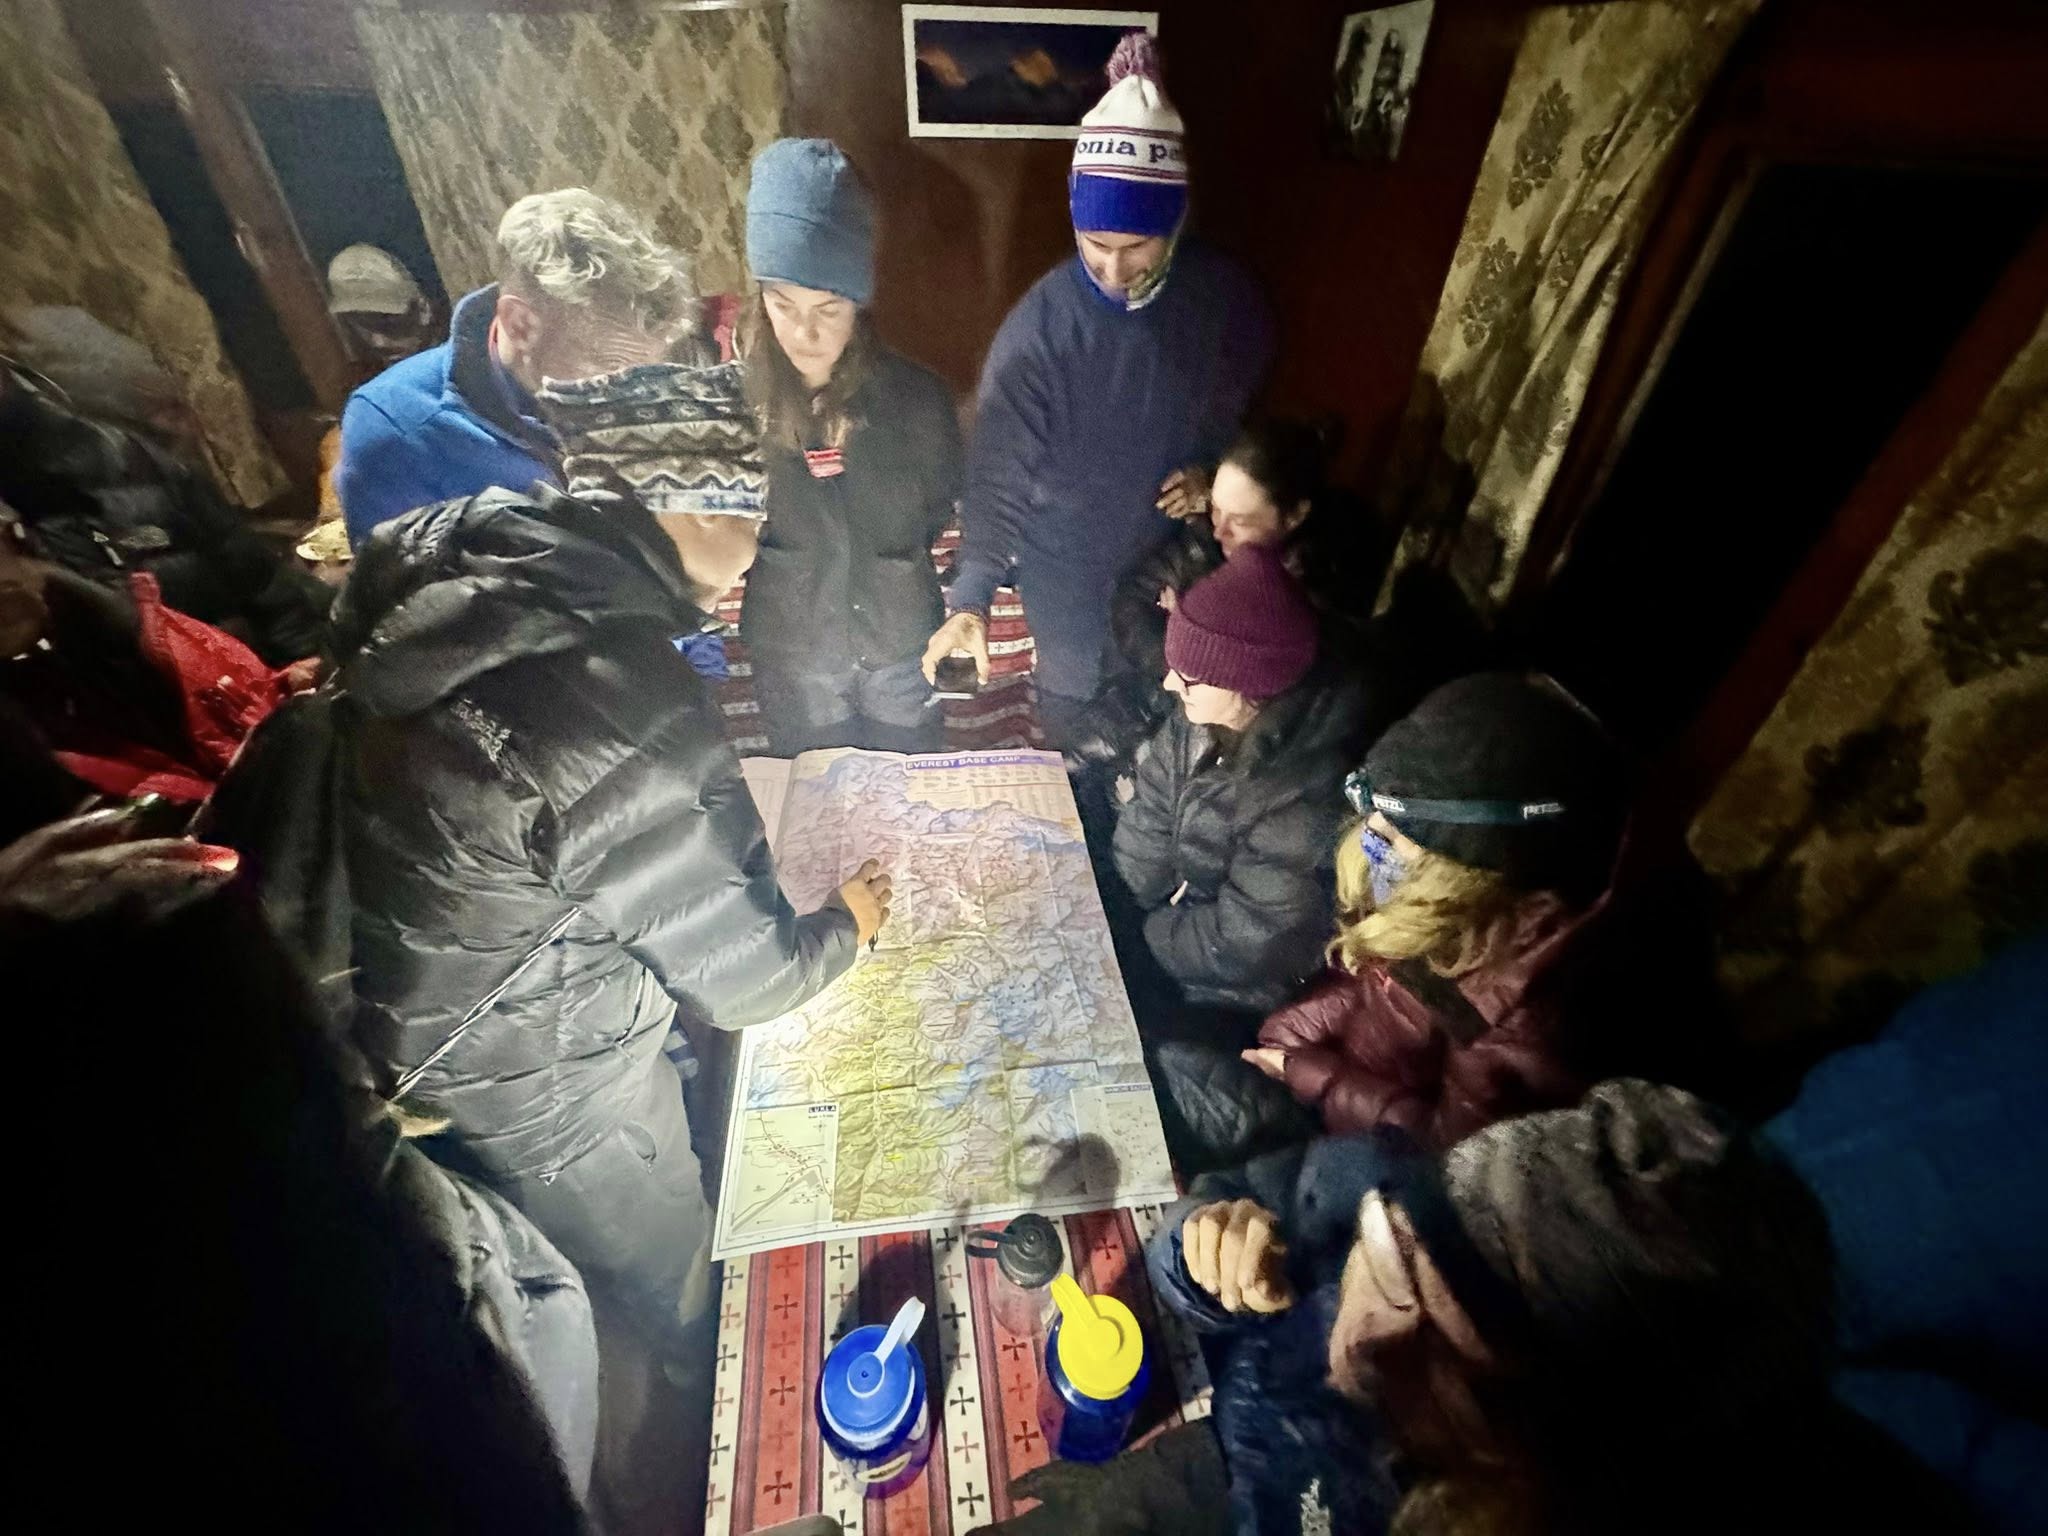
Preparing for the Everest Base Camp trek means covering five areas well ahead of departure: physical training, permits and paperwork, travel insurance, gear, and a realistic budget. Most of this needs eight to twelve weeks of lead time, and a few pieces, like insurance and flights, are worth locking in even earlier.
None of this is complicated on its own. What trips people up is treating preparation as one task instead of five separate ones that each need their own timeline. A trekker who trains hard for months but forgets altitude-rated insurance, or who sorts permits early but packs the wrong gear, ends up just as unprepared as someone who did nothing at all. This guide walks through each piece in the order it actually needs attention.
The Preparation Checklist at a Glance
Five things need sorting before departure: fitness training, permits, insurance, gear, and budget. Each has its own timeline, and starting late on any one of them creates problems that are hard to fix once you’re on the trail.
Training should start eight to twelve weeks out and focus on cardio and leg strength, since most healthy adults need moderate to good cardiovascular endurance rather than elite athletic conditioning to handle this trek comfortably. Permits and paperwork can usually wait until a few weeks before departure, since most operators handle the paperwork directly once trekking dates are confirmed. Insurance needs sorting as soon as flights are booked, since altitude and evacuation coverage sometimes takes time to activate depending on the provider.
Gear shopping works best spread across two or three months rather than crammed into a single trip to the outdoor store, partly because boots need breaking in and partly because good down jackets and sleeping bags sometimes sell out during peak booking season. Budgeting should happen early too, since it shapes decisions about everything from teahouse upgrades to whether to hire a personal porter.
Treating these five areas as parallel tasks, rather than one long sequential list, makes the whole process feel far less overwhelming. Training happens on your own schedule in the background. Insurance and flights get locked in with a single afternoon of research. Gear accumulates gradually over a couple of shopping trips. None of it demands full attention at once, which is exactly why spreading preparation over two to three months works better than trying to compress it into the final few weeks before departure.
Step One: Understand What the Trek Actually Demands
Preparation only works if it’s aimed at the right target, and that means understanding the trek’s real demands before building a training plan around assumptions. This trek is physically challenging but not technical, which changes what kind of preparation actually matters.
Five to eight hours of walking most days, altitude climbing toward 5,364 meters at Base Camp, and terrain that’s uneven rather than climbable define the core physical picture here, where daily walking hours and terrain difficulty increase noticeably past Dingboche as the air thins and the trail turns to loose glacial moraine near Base Camp. None of it requires ropes or climbing skill. All of it requires sustained cardiovascular effort and a body that copes reasonably well with reduced oxygen.
Skipping this step is one of the more common early mistakes. Trekkers sometimes train hard for strength or speed, assuming the trek rewards those qualities, then find themselves underprepared for the sustained, moderate-pace endurance the trail actually demands. Understanding the shape of the challenge first makes every other preparation step, from training to gear, considerably easier to get right.
This also changes how someone reads their own readiness. A trekker who assumes the hardest part will be a single steep climb often trains for short bursts of intensity, then struggles on day nine simply because nobody warned them the difficulty comes from repetition and altitude rather than any single dramatic obstacle. Reframing the challenge correctly, as a long, cumulative test rather than a series of hard moments, changes almost every decision that follows.
Step Two: Build a Training Timeline That Matches the Trail
Training should start eight to twelve weeks before departure and focus on cardiovascular endurance and leg strength rather than short bursts of intensity. Consistency across those weeks matters far more than any single hard session.
A workable structure includes three to four cardio sessions weekly, stair climbing, hill walking, or running, alongside two strength sessions targeting legs and core. One longer weekend hike, ideally twelve to fifteen kilometers with a loaded daypack, rounds out the week and builds toward the trail’s actual daily demands. A simple test worth trying beforehand: hiking that same distance on two consecutive days without needing a full week to recover, since that kind of back-to-back exertion mirrors what the trail actually demands far better than a single hard workout ever does.
Training with the same boots and socks planned for the trek removes one of the most common causes of early trip discomfort. New boots straight off the shelf almost guarantee blisters within the first few days, right when morale matters most. Breaking them in over eight to ten training hikes beforehand solves this before it becomes a problem on the trail itself.
Weighted training deserves specific attention too, since a daypack loaded to roughly the weight you’ll actually carry changes how a hike feels more than most people expect. Ten kilograms on flat ground barely registers. The same weight on a descent after six hours of walking tells a different story, and it’s better to learn that lesson on a local trail than partway down from Tengboche. Building this into at least half the weekend training hikes closes the gap between gym fitness and trail-ready fitness considerably.
Step Three: Pick a Season and Itinerary That Fit Your Schedule
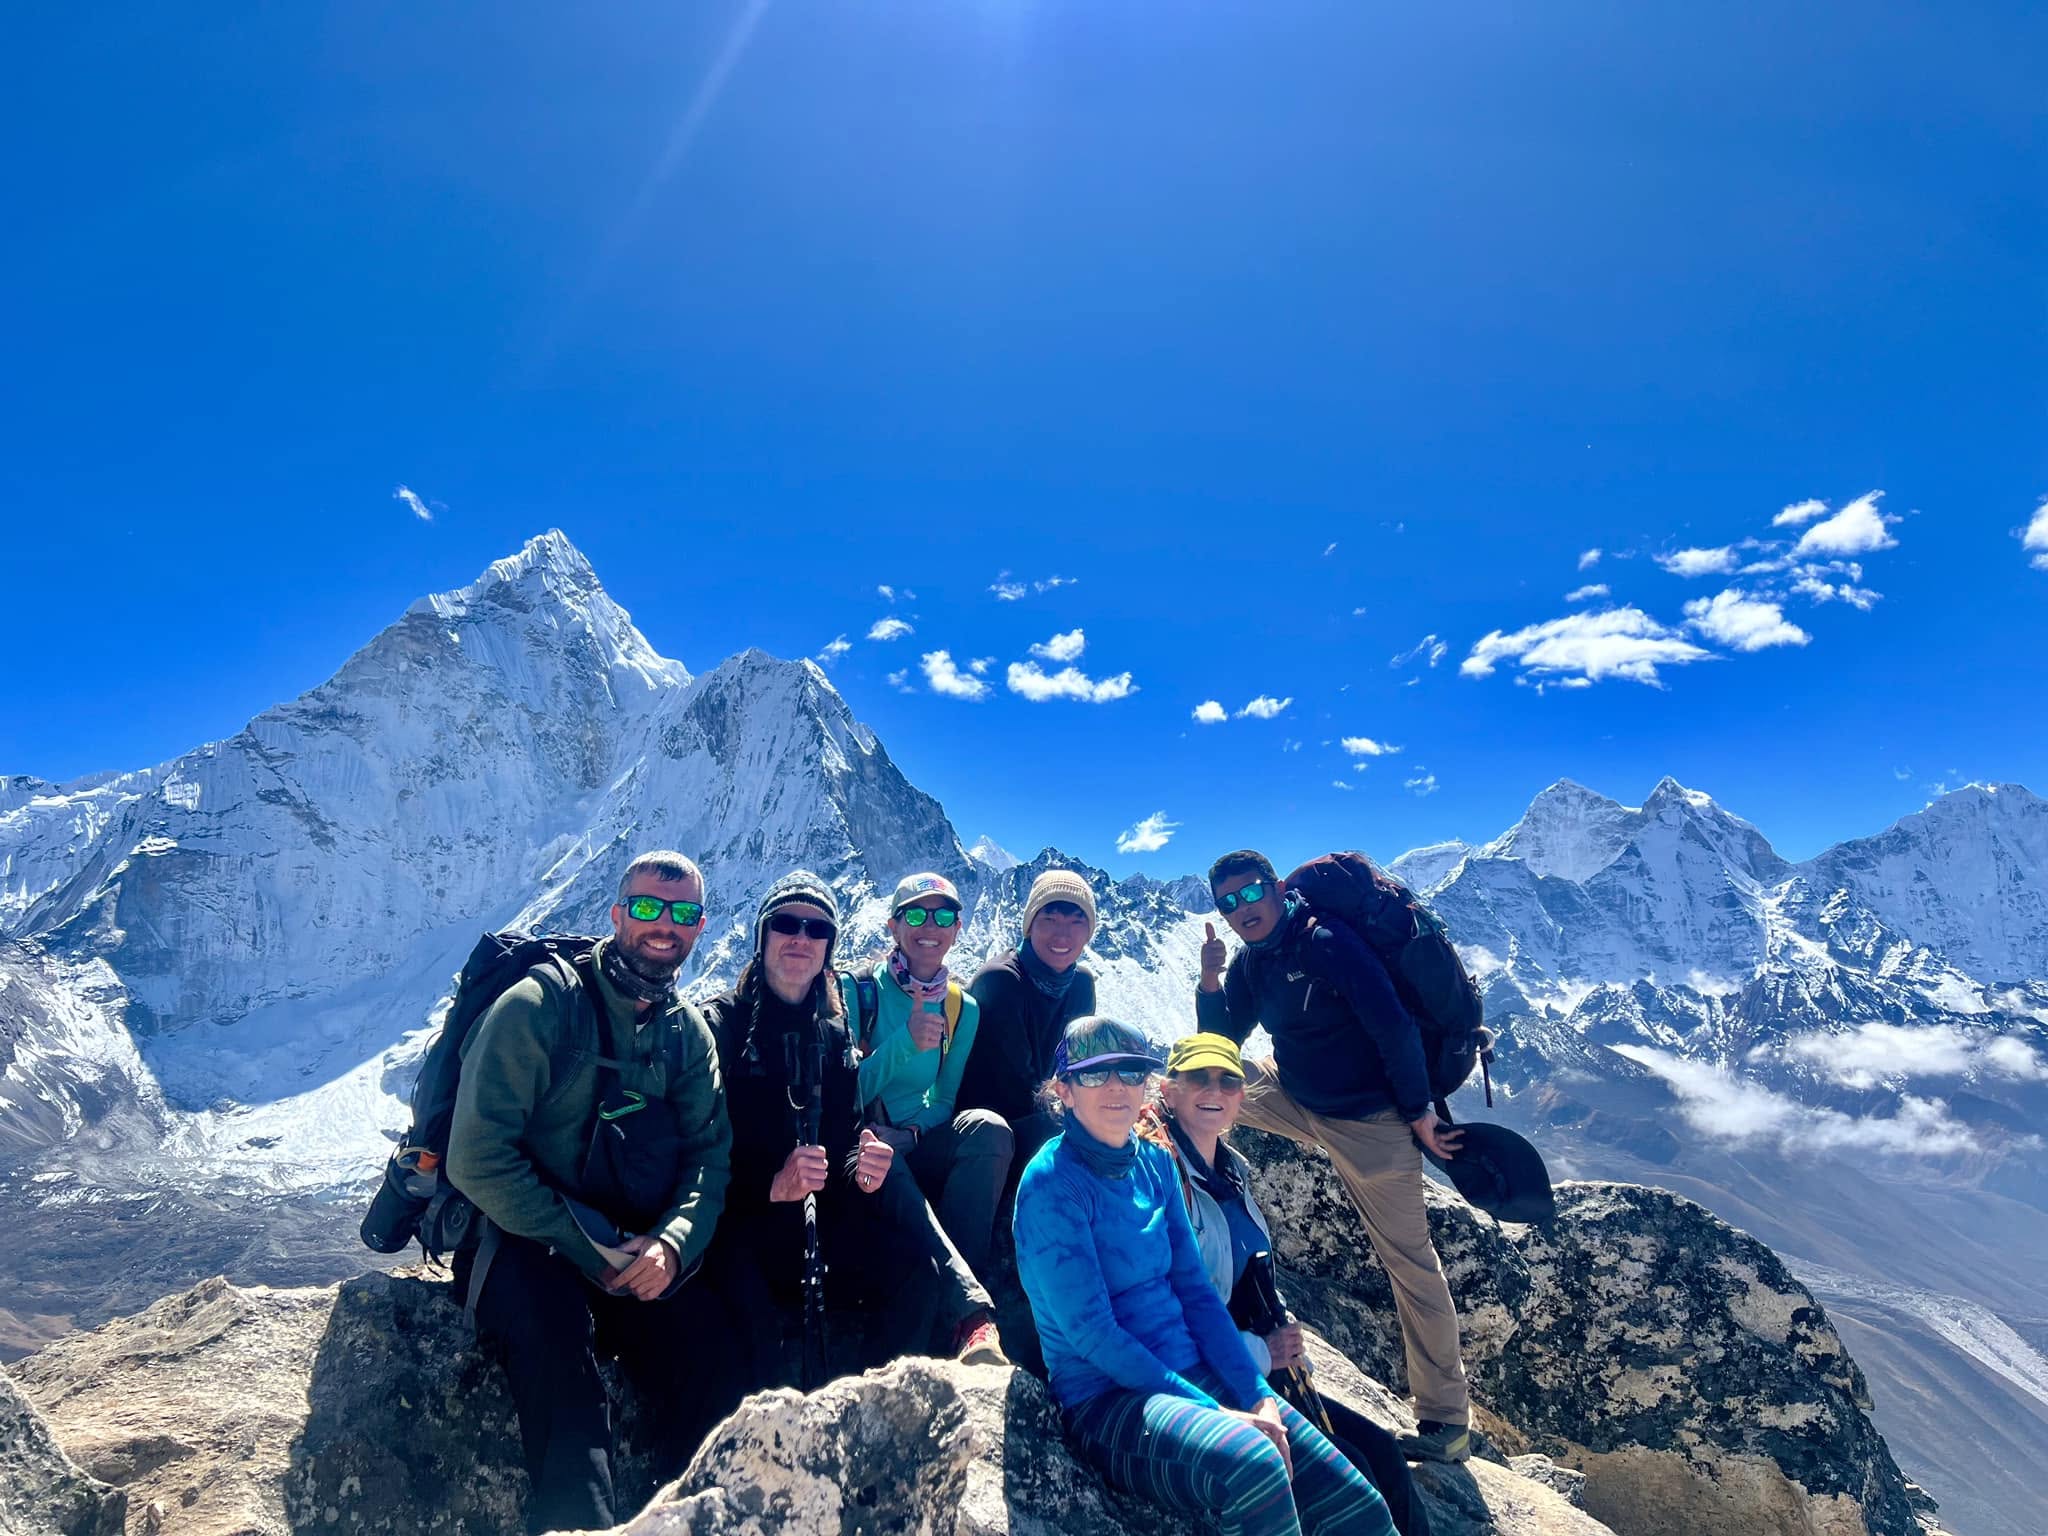
Choosing the right season shapes trail conditions, crowd levels, and overall difficulty more than most trekkers expect going in. Spring and autumn offer the most forgiving combination of stable weather and clear mountain views.
Each season carries its own trade-offs, since daytime temperatures in the lower villages swing from the high teens in autumn to well below freezing on winter nights near Base Camp, a range wide enough to change which gear list actually applies for a given departure month. Winter brings icy trail sections and colder nights that demand serious gear. Monsoon brings persistent cloud cover and muddier trails, though with noticeably fewer people on the route. Picking a season that matches personal tolerance for cold versus crowds is a preparation decision as much as a scheduling one.
Itinerary length matters just as much as timing. A standard twelve to fourteen day itinerary that spaces the toughest stages around built-in rest at Namche Bazaar and Dingboche builds in the acclimatization buffer that shorter, compressed schedules cut out. Trekkers preparing for this trip should treat the itinerary length itself as part of preparation, not just a logistics detail to confirm later.
Flight reliability into Lukla is worth factoring into this decision too, since weather regularly delays flights in and out of the airstrip regardless of season. Building an extra buffer day or two into travel plans around the trek, rather than booking a return flight home the day the trek ends, avoids the stress of a missed international connection over something entirely outside anyone’s control.
Step Four: Sort Permits and Required Paperwork
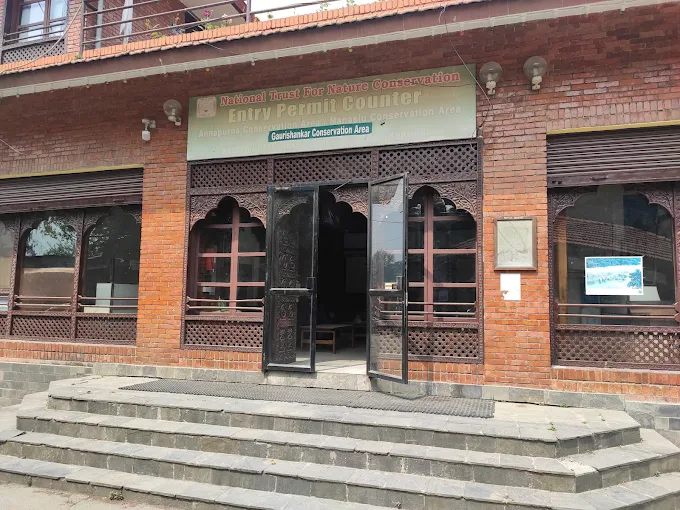
Two permits are required for this trek: the Sagarmatha National Park entry permit and the Khumbu Rural Municipality entry permit, both checked at points along the route. Most trekkers arrange these through their operator rather than independently, since the process involves specific offices in Kathmandu or Lukla.
A valid passport with several months of remaining validity, a handful of passport-style photos, and, for independent trekkers, proof of a booked itinerary are typically required alongside the permits themselves. Trekkers arranging their own permits should build in an extra day in Kathmandu before flying to Lukla, since paperwork occasionally takes longer than expected depending on how busy the permit offices are that week. Group departures usually avoid this entirely, since permits get processed in batches ahead of the trekking dates.
None of this paperwork is complicated, but missing a permit at a checkpoint can genuinely stall a trek partway through, which makes this a preparation step worth confirming early rather than assuming it’ll sort itself out on arrival.
Keeping physical and digital copies of every permit and passport page matters more than it sounds like it should. Checkpoints along the route ask to see permits at several points, and a lost or damaged document partway through the trek creates a genuinely awkward situation in a place with no easy way to reissue paperwork. A simple waterproof pouch, kept in an easily reachable part of the daypack rather than buried at the bottom, solves this for the cost of almost nothing.
Step Five: Get Travel Insurance With Altitude and Evacuation Coverage
Standard travel insurance often doesn’t cover trekking above a certain altitude, which makes checking policy details before booking one of the more important preparation steps. Coverage needs to explicitly include high-altitude trekking and emergency evacuation, including helicopter evacuation if needed.
Many general travel insurance policies cap altitude coverage around 3,000 or 4,000 meters, well below Base Camp’s 5,364 meters, so a policy bought without checking this detail can leave a trekker uninsured exactly when coverage matters most. Specialist trekking insurance providers exist specifically for this reason, and they typically cost more than basic travel insurance but close this gap completely. Confirming coverage for emergency evacuation procedures used on the Everest Base Camp trek before departure means knowing exactly what a policy pays for and how a claim actually gets processed if something goes wrong.
This is a preparation step people sometimes delay until the last minute, treating it as a formality rather than something worth real attention. A few extra minutes reading the policy’s altitude and evacuation clauses before purchase is worth far more than the time it takes.
It’s also worth keeping a printed and digital copy of the policy number and emergency contact line somewhere accessible, rather than only in an inbox that might not have signal past Namche Bazaar. A guide or operator can move much faster on an evacuation call when the trekker already has this information ready to hand over, rather than needing to dig through email while dealing with symptoms that are already worsening.
Step Six: Pack the Right Gear and Clothing
Gear preparation matters because temperature swings on this trek are genuinely wide, from warm daytime sun in lower villages to well below freezing at night near Base Camp. A proper layering system handles this better than any single heavy jacket.
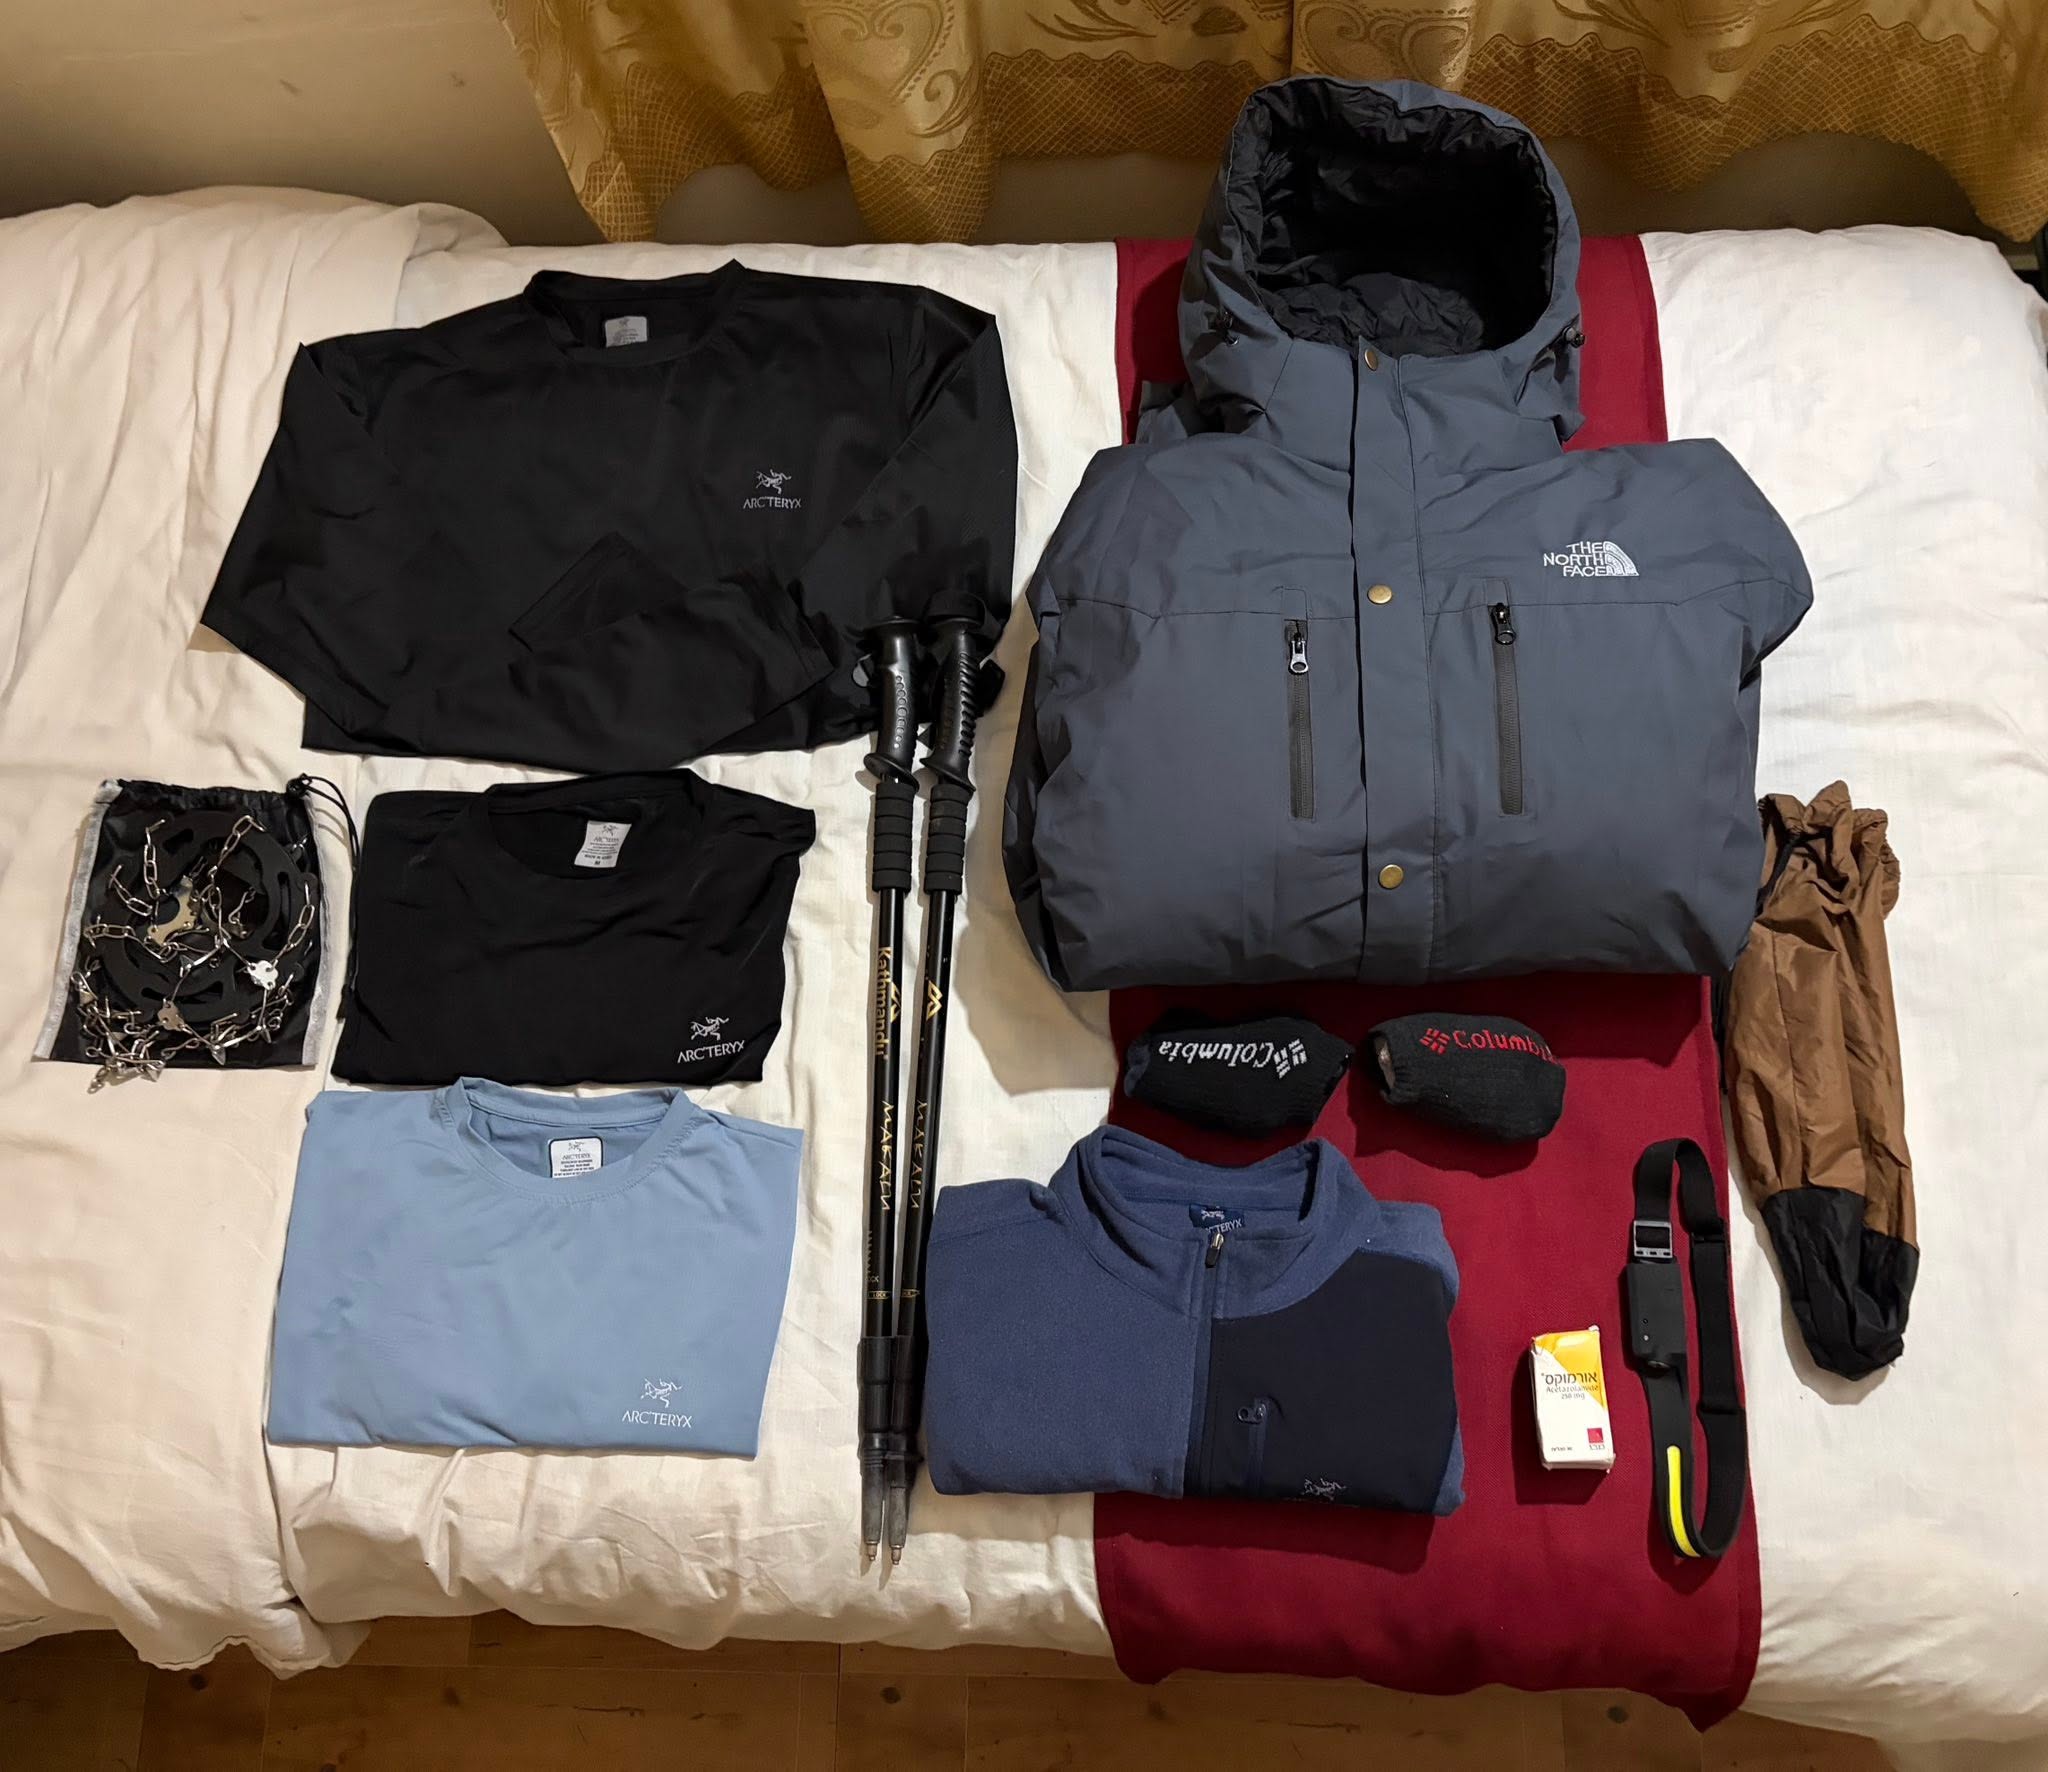
The core of a workable system includes a moisture-wicking base layer, an insulating mid layer, and a windproof, waterproof outer shell, paired with the specific clothing and layering choices that work best for sub-zero nights near Base Camp. Sturdy, broken-in waterproof boots matter more than almost any other single item, since blisters or cold feet can derail an otherwise well-prepared trek quickly. A four-season sleeping bag rated well below freezing rounds out the essentials, since teahouse rooms above 4,000 meters offer little to no heating.
Trekking poles, a headlamp, and a reliable water bottle or bladder round out the practical gear list. None of this needs to be expensive gear bought new for the trip. Rental shops in Kathmandu and Namche Bazaar stock reliable down jackets and sleeping bags at a fraction of retail cost, which is worth knowing for trekkers who don’t want to buy gear they’ll rarely use again afterward.
Testing the full gear setup on at least one training hike, rather than only trying pieces individually at home, catches problems that don’t show up any other way. A jacket that fits fine standing still can feel restrictive under a loaded daypack, and gloves that seem warm enough indoors sometimes fall short once actual wind chill enters the picture. A single dress rehearsal hike, worn exactly as planned for the trek, is worth more than reading a dozen packing lists.
Step Seven: Prepare Your Body for Altitude, Not Just Distance
Altitude preparation is a separate task from fitness training, and it deserves its own attention rather than getting folded into general fitness prep. No amount of cardio training fully prevents Acute Mountain Sickness, since altitude tolerance depends on how an individual body adapts to reduced oxygen.
Understanding the built-in rest days matters here, particularly the acclimatization hikes scheduled above Namche Bazaar toward the Everest View Hotel, since these days exist specifically to reduce altitude risk rather than as optional scenic detours. Some trekkers use a short course of altitude medication as a preventive measure, discussed with a doctor well before departure rather than decided on the trail. Staying well hydrated, eating enough calories even when appetite dips, and resisting the urge to rush past rest days round out the practical side of altitude preparation.
Trekkers who treat acclimatization as seriously as physical training tend to have noticeably smoother trips than those who assume fitness alone carries them through the altitude gain.
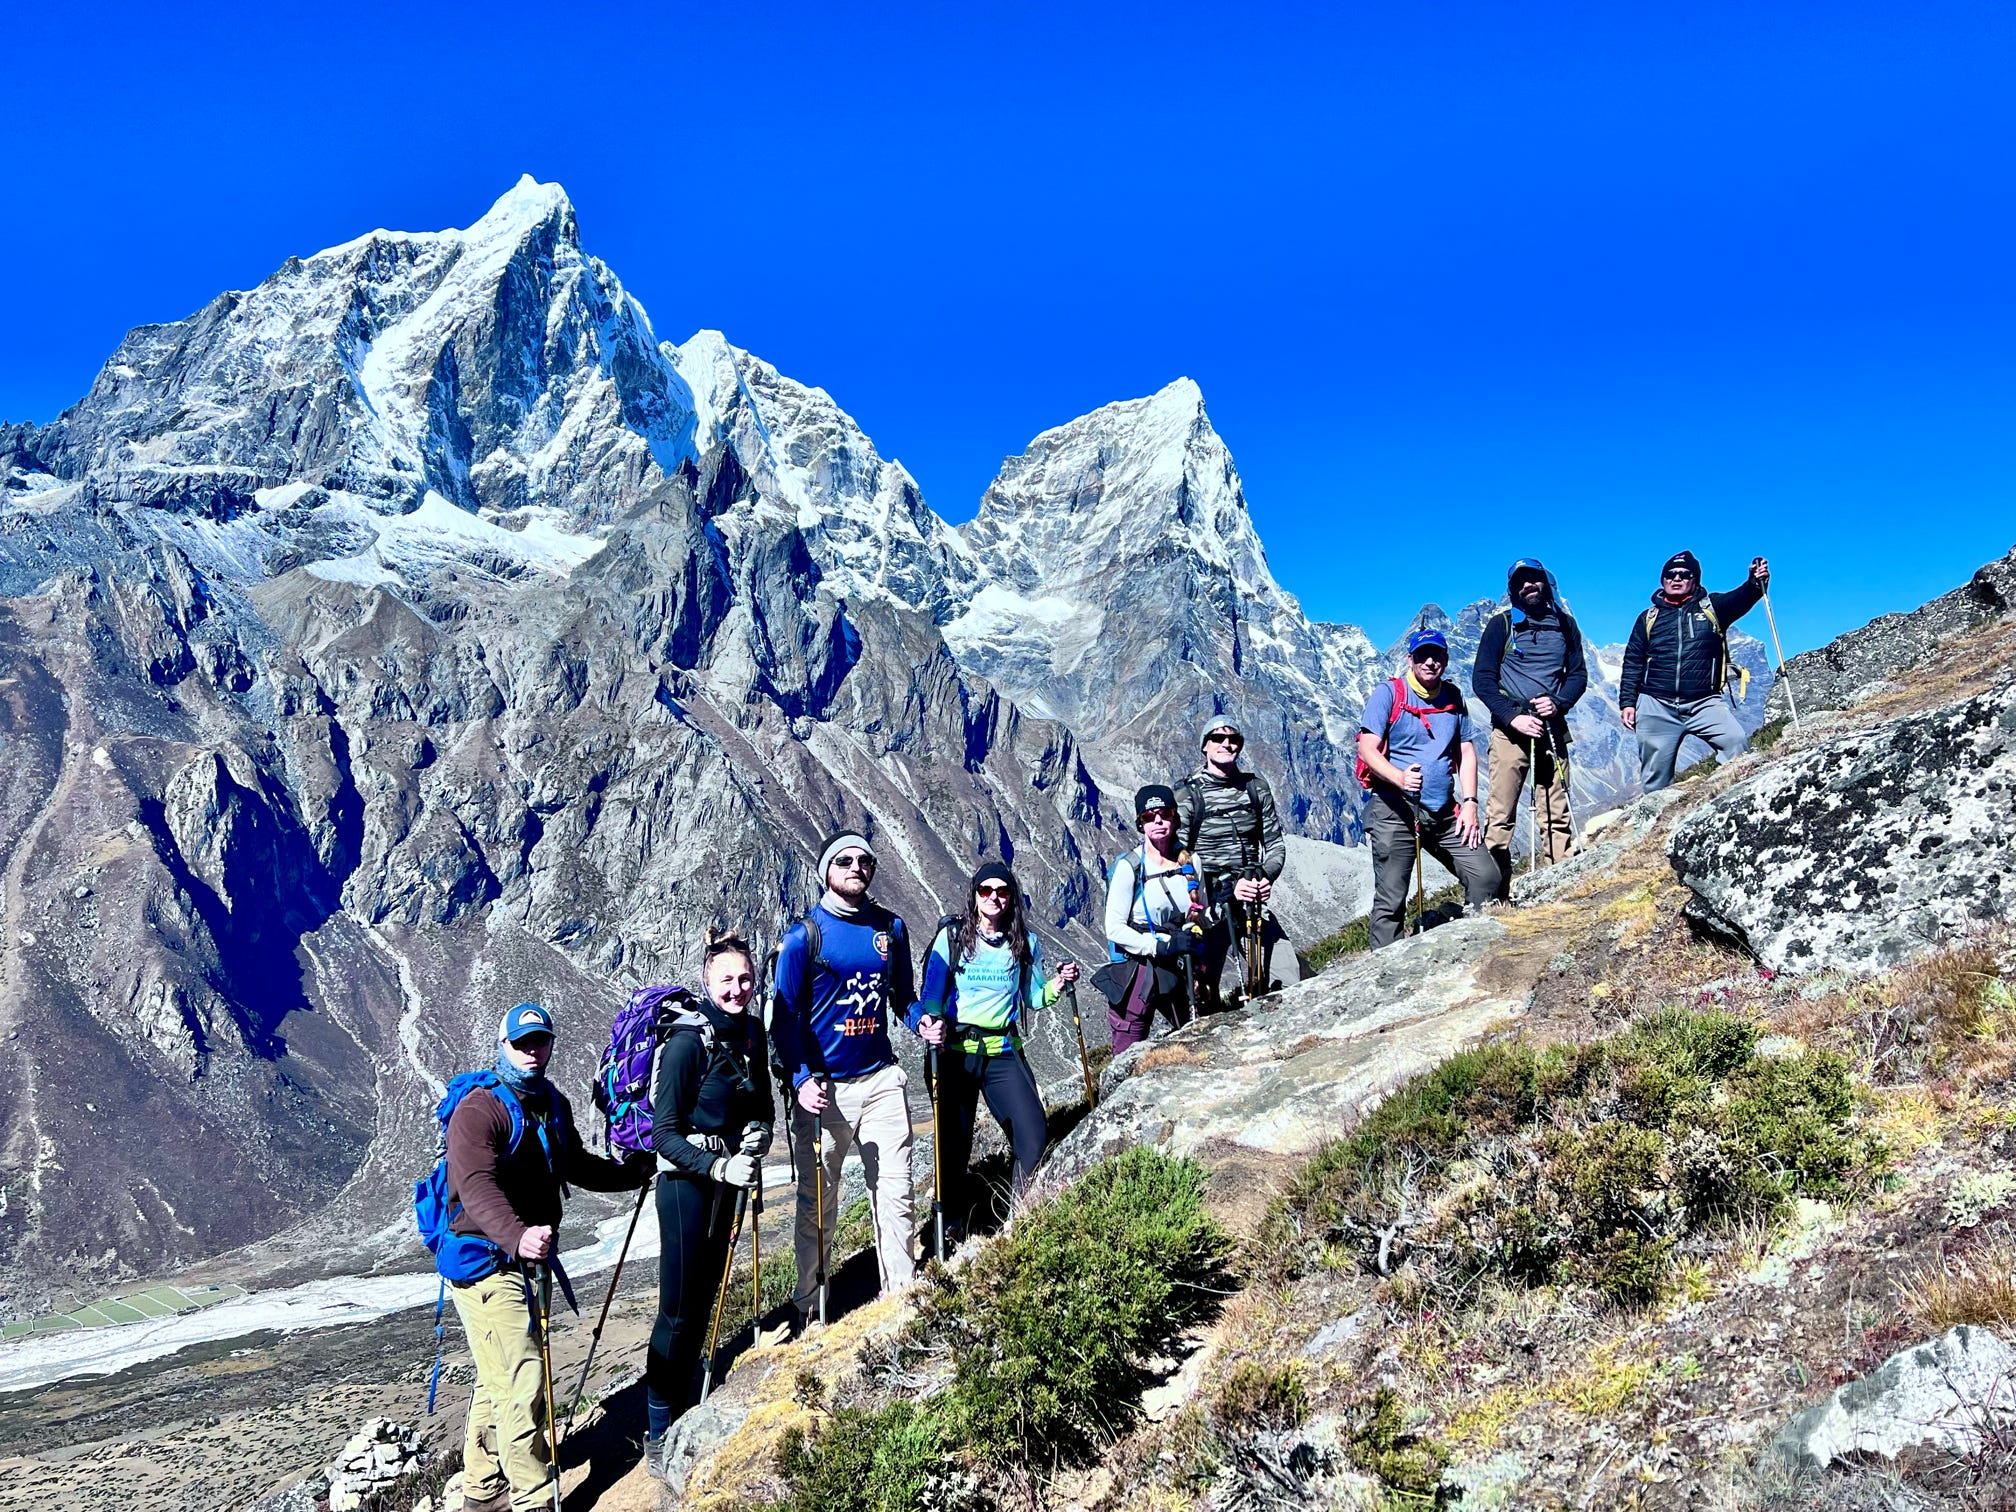
Recognizing the difference between normal adjustment and a genuine warning sign matters just as much as the preventive steps. A mild headache that eases with rest and water is common and expected above 3,000 meters. A headache that persists alongside loss of appetite, disrupted sleep, and a general sense of unsteadiness is a different signal entirely, and it calls for pausing the ascent rather than pushing through it.
Step Eight: Budget Realistically for the Full Trip
A realistic budget covers more than the trek package itself, including permits, tipping, gear rental, extra nights in Kathmandu, and daily spending on the trail for snacks, hot showers, and charging devices. Underestimating these extras is one of the more common preparation gaps.
Daily costs on the trail climb noticeably with altitude, since teahouses further from road access charge more for food, drinks, and services like charging or hot water. Trekkers who map out a realistic daily budget for food, snacks, and incidentals on the trail before departure avoid the awkward situation of running short on cash partway through, since ATMs disappear entirely past Namche Bazaar. Tipping for guides and porters is customary and worth budgeting for separately, since it isn’t always included in the base package price.
Building in a reasonable buffer, beyond the estimated daily costs, covers unexpected situations like a Lukla flight delay requiring an extra night in Kathmandu, which happens often enough to plan for rather than treat as a rare exception.
Card payments are essentially nonexistent once the trek starts, so carrying enough cash for the full trip, changed into local currency before leaving Kathmandu, avoids an awkward situation partway through. Trekkers sometimes underestimate how much small daily purchases, a hot shower here, a charged phone there, an extra pot of tea, add up over twelve or fourteen days, and building a modest daily allowance into the overall budget accounts for this without any unpleasant surprises later.
Step Nine: Choose an Operator and Guide You Actually Trust
The operator and guide chosen for this trek shape the entire experience more than almost any other preparation decision, since they handle logistics, safety monitoring, and daily pacing throughout the trip. This is worth real research rather than a quick price comparison.
Guide qualifications, safety protocols, and how an operator handles emergencies vary more across the industry than most trekkers expect, and the operational details that separate a strong Everest Base Camp trek company from a weak one rarely show up on a homepage. Checking for wilderness first aid training, oximeter use for daily altitude monitoring, and clear emergency evacuation protocols gives a much better picture of an operator’s actual standards than marketing materials alone. Reading recent trekker reviews, particularly ones that mention how a company handled an actual altitude issue or flight delay, reveals more than a polished website ever will.
Price matters, but choosing purely on cost, without checking these safety fundamentals, is one of the more consequential preparation mistakes a trekker can make before booking.
A short call or message exchange with a prospective operator, before booking, often reveals more than their website does. Asking directly how they handle a suspected altitude sickness case, or what their evacuation process actually looks like step by step, tends to separate operators who’ve thought this through from ones repeating generic reassurances. A hesitant or vague answer to a direct safety question is worth paying attention to just as much as a confident one.

Step Ten: Sort the Smaller Logistics Before You Fly
A handful of smaller logistics round out preparation and are easy to overlook until the last few days before departure. None of them take long to sort, but forgetting them creates avoidable friction once the trek is already underway.
Currency exchange is worth handling in Kathmandu before flying to Lukla, since exchange options thin out considerably along the trail itself. Trekkers should also plan around the accommodation standards that shift noticeably between lower villages and higher altitude teahouses, since packing expectations change depending on how much comfort a given stage of the route actually offers. A basic first aid kit, a printed copy of travel insurance details, and photocopies of important documents round out the last few practical items worth sorting before departure day.
Trekkers hiring a personal porter to help manage gear weight should confirm this arrangement with their operator well before arrival, since porter allocation sometimes needs advance planning rather than a same-day request.
A short checklist covering phone and camera charging solutions, spare batteries, and a small stash of preferred snacks rounds things out well. Charging costs a small fee at most teahouses above Namche and can take a while given limited solar output on cloudy days, so a portable power bank is worth packing rather than relying entirely on teahouse charging points that sometimes have a queue.
Common Preparation Mistakes to Avoid
A few mistakes show up repeatedly among first-time trekkers, and most of them are easy to avoid with a little planning. Recognizing them ahead of time is often enough to sidestep them entirely.
Buying insurance without checking altitude coverage limits is probably the most consequential mistake, since it only becomes obvious when a claim gets denied. Underestimating the training timeline, starting serious preparation just two or three weeks before departure rather than two or three months, is another common gap that shows up quickly once the trail steepens. Packing new, unbroken-in boots is a small mistake with an outsized effect, given how much a blister can derail an otherwise well-prepared trip.
Treating the acclimatization schedule as optional or skippable rounds out the list, and it’s arguably the most serious mistake on it, since altitude sickness doesn’t discriminate based on how well-prepared someone was in every other respect.
A quieter mistake sits underneath most of these: assuming preparation is mostly about willpower rather than logistics. Trekkers who show up mentally determined but without a booked insurance policy, broken-in boots, or a realistic sense of the daily schedule often find that determination alone doesn’t solve a permit checkpoint or a blister on day three. The trekkers who move through the trip most smoothly usually aren’t the most driven ones in the group, they’re the ones who handled the boring administrative pieces early enough that nothing needed fixing once the walking started.
So, How Do You Actually Prepare for This Trek?
Preparation for this trek breaks down into five manageable pieces: physical training, permits, insurance, gear, and budget, each with its own timeline and none of them especially complicated on their own. Starting eight to twelve weeks out, working through each piece methodically, covers nearly everything that actually matters.
None of these five pieces need to happen in strict order, and treating them as parallel rather than sequential tends to reduce the sense of overwhelm that builds up when preparation gets left too late. Training can run quietly in the background for months while insurance gets sorted in a single afternoon and gear accumulates gradually across a couple of shopping trips. The trekkers who find preparation stressful are usually the ones compressing all five pieces into the final few weeks, not the ones who started with a long list.
What separates a smooth trip from a stressful one usually isn’t any single big decision, but a handful of small ones handled early rather than left until the last week. Confirm insurance covers the altitude and evacuation scenarios that actually apply here. Break in boots properly. Build a training plan around the trail’s real demands rather than a generic fitness standard, and treat acclimatization as seriously as the walking itself.
Matching training and packing decisions against the day-by-day distances and elevation gains built into the standard itinerary, rather than a generic checklist, gives trekkers a genuinely clear sense of what each stage of the next two weeks actually involves, which counts for more than almost any single piece of gear.
Frequently Asked Questions For How to Prepare for the Everest Base Camp Trek
How far in advance should I start preparing for the Everest Base Camp trek?
Start physical training eight to twelve weeks before departure, and sort travel insurance as soon as flights are booked. Permits and gear can be handled closer to the trip, ideally within the final month.
Do I need to arrange permits myself?
Not usually. Most trekkers book through an operator who arranges the Sagarmatha National Park and Khumbu Rural Municipality permits directly, though independent trekkers need to handle this themselves in Kathmandu.
What kind of travel insurance do I need?
Insurance that explicitly covers high-altitude trekking above 5,000 meters and emergency evacuation, including helicopter evacuation if required. Many standard travel policies exclude this and need a specialist add-on.
Can I rent gear in Nepal instead of buying it?
Yes. Kathmandu and Namche Bazaar both have reliable rental shops for down jackets, sleeping bags, and trekking poles, which suits trekkers who don’t want to buy gear they’ll rarely use again.
How much should I budget beyond the trek package cost?
Plan for permits if not included, tipping for guides and porters, daily spending on food and charging at teahouses, and a buffer for potential Lukla flight delays.
What’s the biggest preparation mistake first-timers make?
Treating acclimatization as optional rather than essential. Rushing past built-in rest days to save time is the most common reason trekkers develop altitude sickness severe enough to need descent.
Should I train differently if I’ve never trekked before?
Not dramatically differently, but beginners benefit from starting the full eight to twelve week window rather than compressing it, and from testing readiness with a loaded weekend hike before departure.